Timbertop x Urban Floor – Chevron

collab


The brand new Chevron from the Timbertop x Urban Floor line is totally unique in the world of pre-finished hardwood flooring. There are several features that set the quality and look of the product apart from all other manufacturers. First the staining process is a reactive stain and smoking process that takes from 24 to 48 hours to produce. The reactive stain interacts with the natural tannins and sugars in the wood to create a naturally aged look that would normally take years to achieve. And the color/stain is not merely on the surface it actually penetrates the wood approximately 2mm deep. Thereby making minor scratch repair very easy and in most cases unnecessary, as the color has penetrated more than just the surface.  With t
he UV cured oil finish used it will not be necessary to oil the floor immediately after installation as you would with most oil finished floors. In a high traffic or commercial application you would only need to refresh the oil finish as needed and only in traffic areas to keep the floor looking brand new for many years.


The top wear layer of Chevrons are individual splines/slats of wood 5.5 MM thick, not that you want to but this floor could be sanded and refinished multiple times. This floor installed in a commercial building or custom home properly maintained will be enjoyed by visitors 150 years from now. The overall thickness is slightly more than ¾ inch. Thereby making this one of the thickest most durable engineered floors on the market today. The engineered core is made from Havea wood which is a fancy name for the rubber tree. The advantage of this core is it is grown in the tropics around the equator. Grown in this region there are no seasons and the tree grows year round and produces no growth rings that you find in trees growing in North and South America or Europe. Having no growth rings means this wood core is the most environmentally stable wood product produced. So much so that the product does not need acclimation prior to installation. All you need do is deliver it and start installing immediately. No more 3 day acclimation on a new construction job site only to find your wood has been stolen before your installation crew arrives.


Another big advantage to the Timbertop Chevron is the planks are 11 ½ inches wide and 4 feet 9 inches long. Easily glued, stapled or floated by your regular installation crew. No need to hire a 50 year old master craftsman to fashion each chevron piece individually and installed separately at 50 dollars per hour, then sanded and finished in place, the labor savings alone using this state of the art product is considerable. One final key feature offered is custom borders/feature strips to match. If you have an area where the Chevron look is desired with a surrounding border such as a foyer or dining room, Urban Floor makes 3 ½ inch wide 8 foot long feature strips matching in color and tongue and groove to make installation and a custom look quick and simple.


Visit or contact your local Urban Floor Dealer today to see if the timeless Timbertop Chevron is just what your home or project needs to set your project apart from everyday ordinary.

New Year, New Hardwood Floors!


2016 was one for the books and we’re more than ready for a few new beginnings! 2017 will be just that for Urban Floor, since we have big plans for the new year and one of those plans is the launch of our new Savanna Collection. We’ve been tirelessly working on preparations for this new collection to be debuted at The International Surface Event in Vegas mid January while at the same time working on ANOTHER collaborative collection that will also be debuting at Surfaces, however that’s for another time. Another blog. Needless to say, we’ve been busy around here and we will continue to be busy for the rest of the year! That’s just the mentality and work ethic we need to execute these plans the be the best hardwood flooring company in town!


savanna-logo-tree

If you follow us at all on any of our social media platforms, you’ve seen that we have been teasing the launch of this new collection recently. But we haven’t really talked too much about it. For instance, the Savanna Collection has an HDF (High Density Fiberboard) core that we will be bragging about at Surfaces. What that means without getting too technical is that the engineered aspect of our the Savanna is composed of a stronger material usually found in engineered hardwood flooring. The technology used to engineer an HDF core is state of the art, and actually quite cost effective. Therefore, we are able to offer a better, stronger, more luxurious hardwood floor at a lower cost to you! Because Urban Floor’s middle name is innovation, products like this are no where else on the market and this is how we are going to revolutionize the hardwood flooring industry as a whole. The Savanna comes in 7 beautifully stylish colors ranging from a light grey, all the way to a dark, almost black. Rich colors you would hardly ever see at this economically affordable price point! We’re really excited for this collection to hit the market and more excited for it to hit your home floors! Keep an eye out for the Savanna, it’s going to change what you know about engineered hardwood floors.

Tis the season to be stressed out? Not!

Well, the holiday season is upon us once again, time for families to get together and over eat. Watch football, exchange gifts and realize you can’t put off that purchase of new flooring any longer. Your family that you haven’t seen in years is coming town and you’re entering freak out mode. That old nasty carpet you should have changed out during the Bush administration just cannot be tolerated another day. Now with your mother in law and aunt Betty coming to town your going into nesting overdrive. OMG what to do first?!

Image result for happy holidays

The first thing to do is not wait until the last minute. If you’re thinking you can get a good quality product and installation by Thanksgiving you’re probably smoking your turkey (pun intended). This is the busiest time of year for your local flooring dealer as everyone has family coming to town. Everyone is trying to make a good impression with their in laws and put their best foot forward. You’re most likely too late for Thanksgiving but there is still time for the end of the year festivities.

Start looking now! If you’re reading this you’re on the right track. Check out all the selections here at urbanfloor.com and have an idea what you’re looking for before you visit your local dealer. This time of year some dealers have their installation crews booked out 3-4 weeks in advance. So if you start now and do as much preparation before you go shopping you can squeeze that project in on time. Here is a list of a few things to think about before you shop.

  1. What is my budget (how much can I afford to spend)?
  2. What areas of my home are priorities?
  3. Time off work, you will most likely need to take some days off work while the project is being done. New flooring can take from one day to three weeks depending on the scope of work.
  4. Think about preparation to save on cost. Can you move your own furniture? Can you remove and dispose of your old flooring? Doing these will save time and money.
  5. What will I do with my five dogs and six cats?
  6. Expect the unexpected. No matter how good or experienced your dealer representative is when he comes out to measure and evaluate your home. There is a very good chance that some hidden condition may exist under that old carpet that cannot be seen until the day the project starts. Damaged sub floor, uneven dips and humps that carpet and pad will hide from view until removed. Often repair of these conditions must be done before the new floor is installed and this will require extra cost.

Ok so what’s next? Get going the clock is ticking you still have time but time is getting short. This is the best time of year, time for family and friends. Don’t let the enormity of it all stress you out. You have help out there; visit your local Urban Floor Dealer. Let them walk you through the process, it’s not too late to make a great first impression! Hurry the clock is ticking….

Ron Call

Out Goes Summer, In Comes Fall

about-romagna

Summer is officially over and we’ve had our fun in the sun. Beach trips, camping, barbecues, all that jazz. It all went by like a blink of an eye and Summer never seems to last long enough nowadays. Back in grade school, summer vacation seemed to last forever and the days never seemed to end. Now it seems like the years are becoming shorter and shorter but maybe that’s just growing up.
Hello Autumn


With the end of September Autumn comes into play (or Fall, whichever you prefer) and the weather begins to cool down, school is back in session, and colors change from bright greens to warm oranges. I wholeheartedly believe that the commencement of Fall is the kickoff of our Holiday season, so I have an inclination to become incredibly festive no later than October first. Is that a bit premature? I like to think not. So we’re going to talk about small interior design touches for your entry way to set the mood utilizing the color of your hardwood floor as a staple to create a big impact on your Autumn aesthetic.


I like to welcome the seasonal change and embrace the vibe right off the bat by hanging a beautiful wreath and a themed welcome mat outside the front door. As soon as someone approaches the home, they are well aware that this fall inspo isn’t to be taken lightly. These are serious matters and this isn’t a game. Nothing says Autumn celebration décor like foliage and of course welcome mats are always fun. So we’re creating a story before the door is even opened.


Now, once you walk in the home, the entry way smells of cinnamon apple cider with the help of a seasonal inspired candle or two. This is where we get a little scientific with our interior design, we want a full sensory experience of fall in the home. If it was at all possible, I’d have small gusts of chilly wind brush the faces of company when entering, followed by the heat of a fireplace, warming and comforting my visitors. That may a bit extreme, but that fantasy-land experience would never be forgotten. I digress.


Finally, we can talk about décor. Sure, you can add a pumpkin here or there like everyone else if you want to go the obvious and expected route, however we’re attempting to conceptualize with a higher taste design mindset to capture the aesthetic of Autumn, while at the same time elevating the style component throughout. A printed throw rug or a runner over a color wood floor like our Bach from the Composer collection could be an ideal element to add. The rug wouldn’t necessarily have to be burnt orange in color, you could have a deep forest green, or even a dark shade of purple to contrast the actual “Autumn colors” people associate the season with. Of course if you have a wood floor like our Grant from the Presidential collection, you’d want to stray from darker colors and go with a tan rug or soft light hue of red. You could build around the hardwood/rug combo with a vase filled with a bundle of sticks and a few more pops of color, perhaps a teal or lime green picture frame for a bit more contrast and there you have it. A small base and introduction of Fall themed interior design for your entry way that can continue onto the rest of your home. Even if you aren’t one to redecorate often, these little additions can go a long way in bringing a festive atmosphere to your home. Happy Autumn, friends!

Mood Board

The Three Phases of Flooring Installation by Ron Call

three phases flooring installationHello there, my name is Ron Call from Urban Floor and today I want to talk about the three phases of flooring installation.

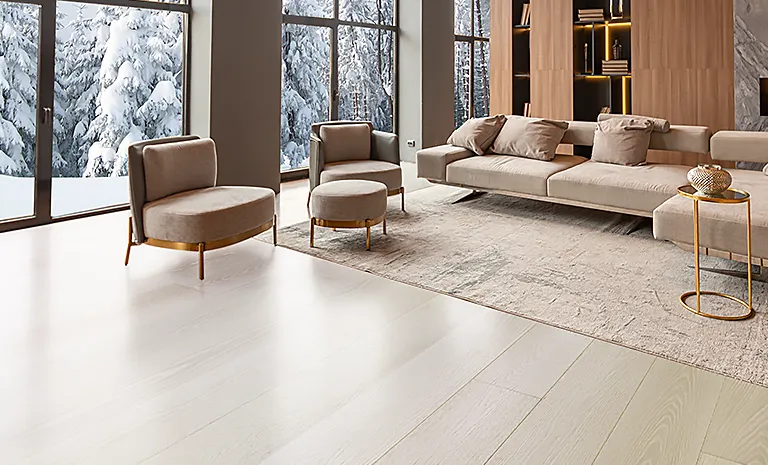
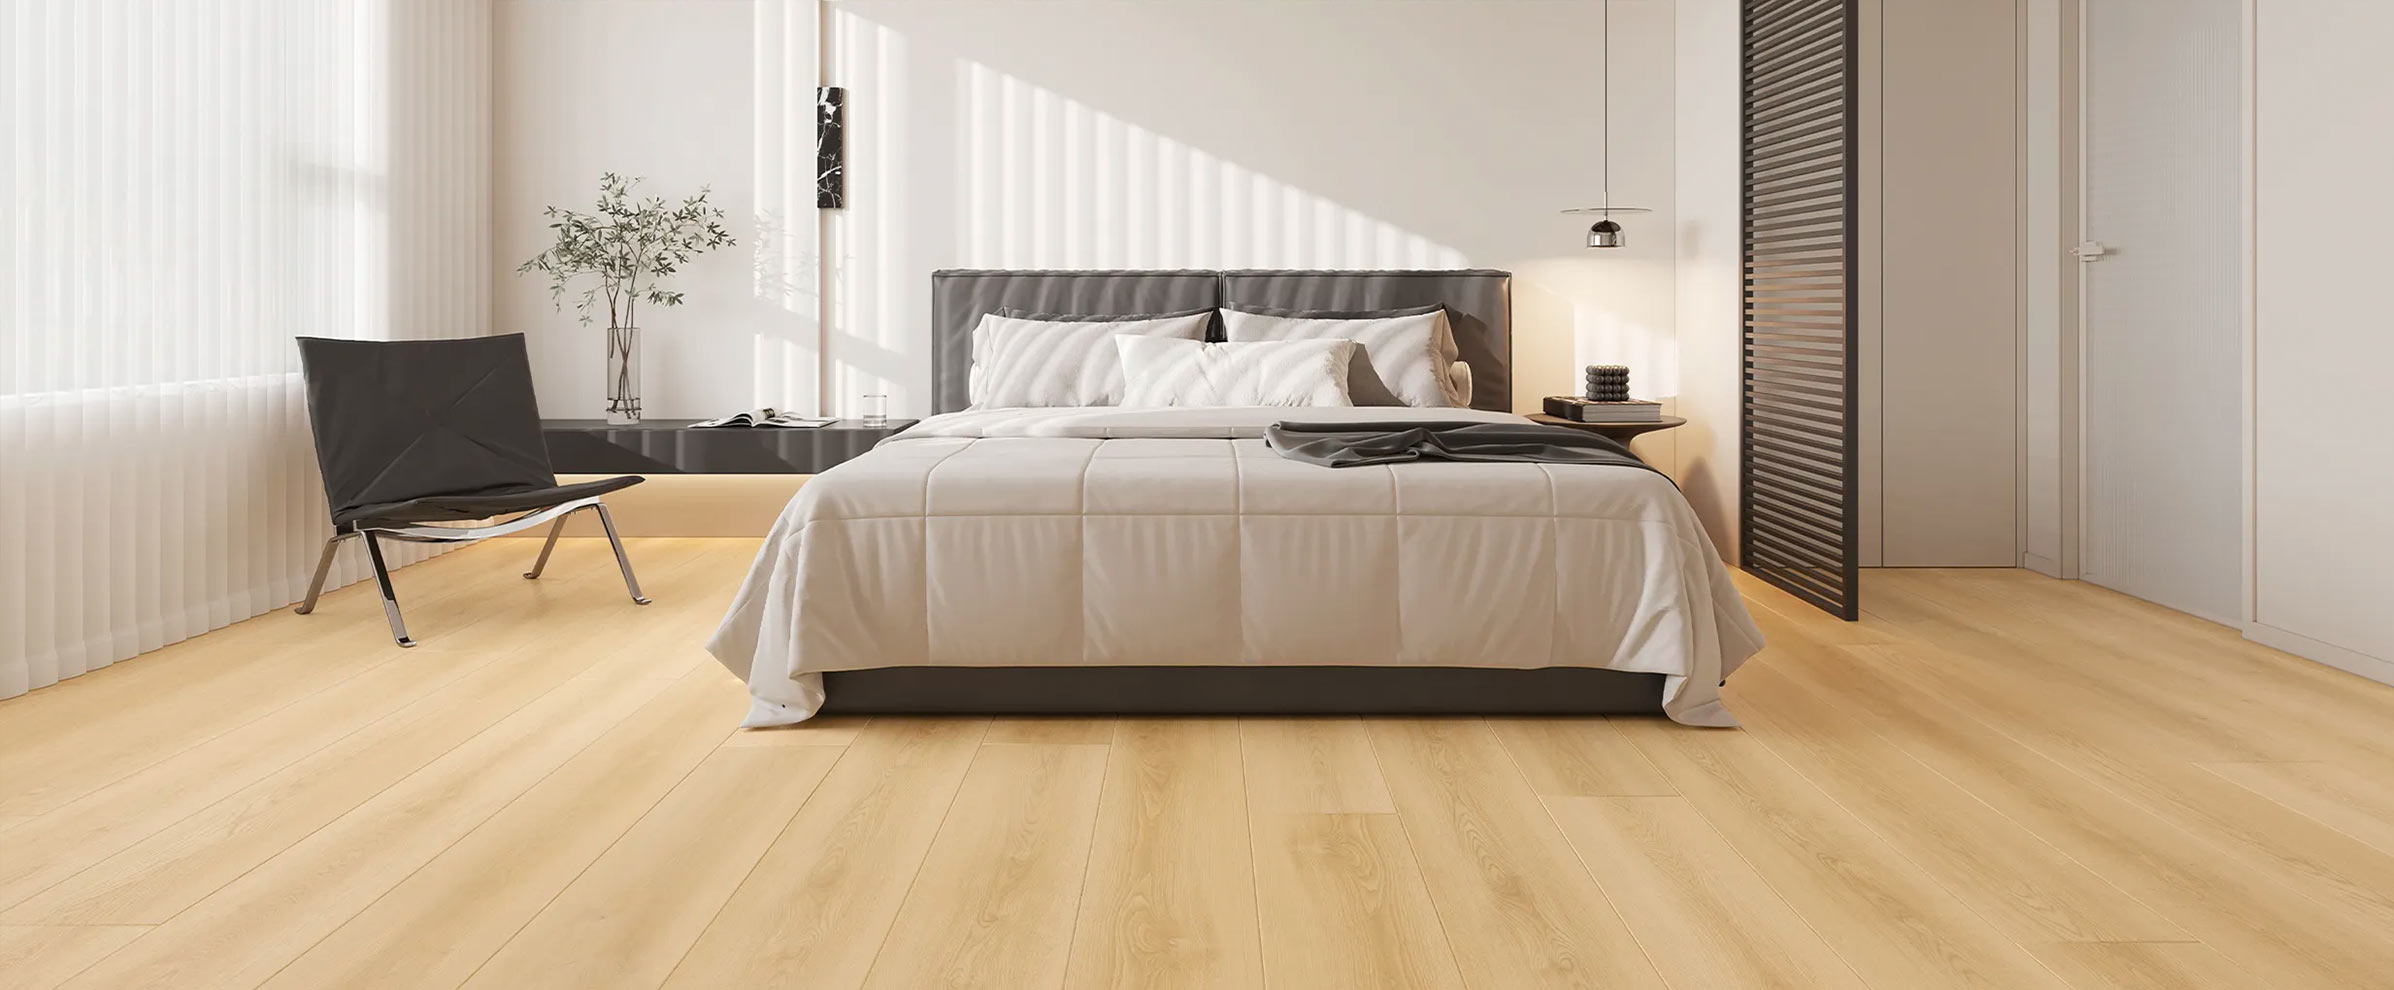
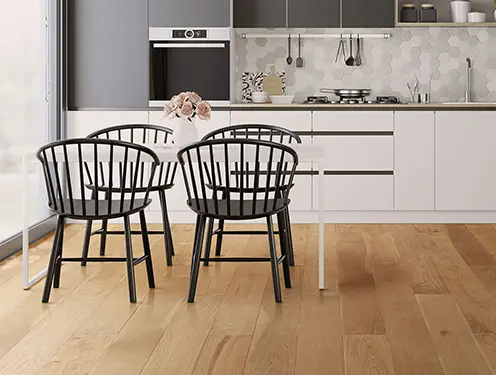
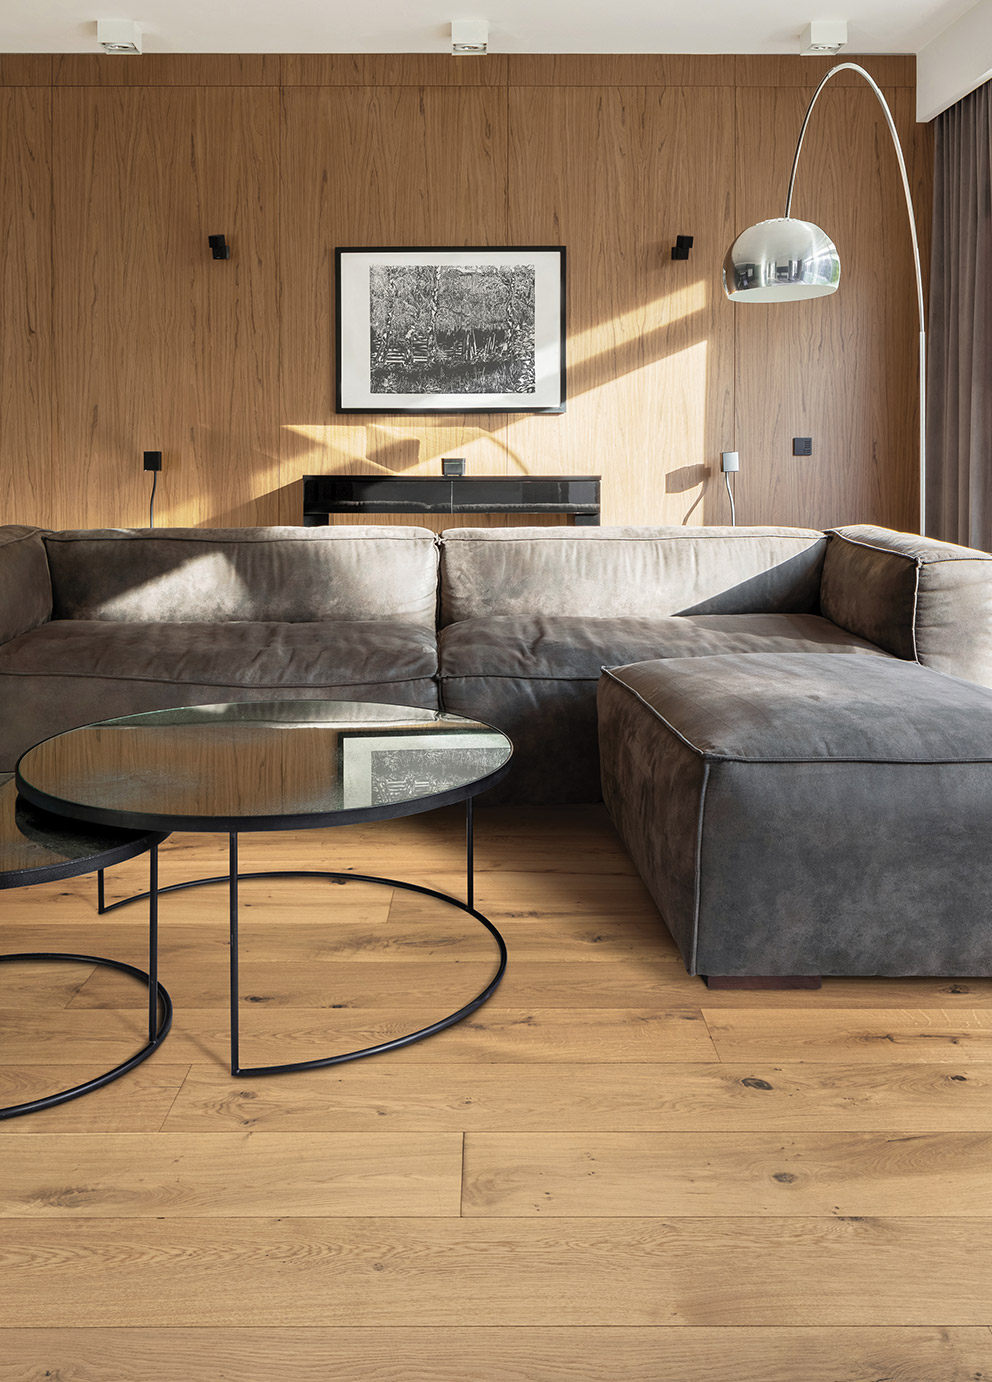
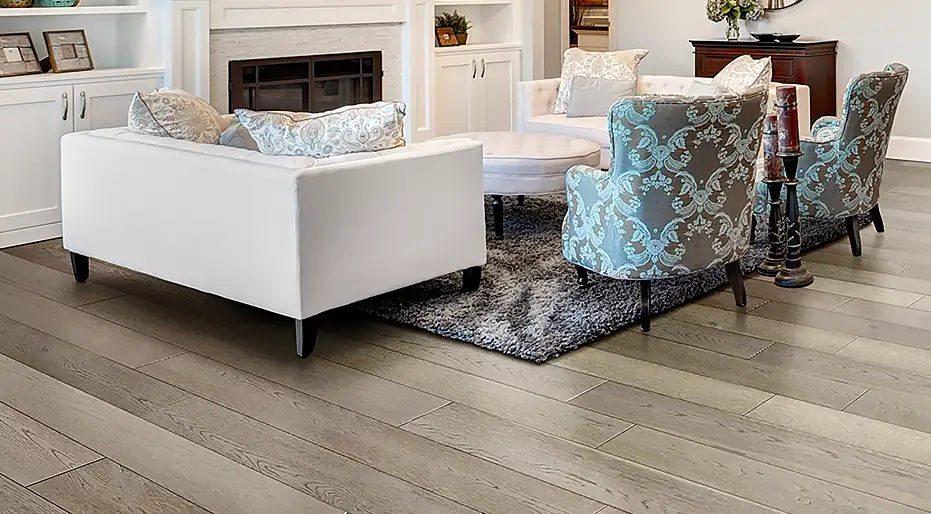
As a flooring professional, when I walk into someone’s home for the first time, just as a guest and not even as a professional, the first place my eyes go are straight to the floor. I can’t help myself; it’s what I do. I assume my dentist looks at people’s teeth when he meets them for the first time. It’s human nature, I guess. Whether the floor is carpet, wood, laminate or tile, I can in tell in seconds whether the installation was done by a professional or a weekend warrior. If it looks like it was done by a weekend warrior, I usually ask, “Who did your floors?” It is so obvious to me when a floor is installed by an amateur homeowner, because the devil is in the details. Most people will not tackle a carpet job on their own unless it’s a drop room or two. Seams are not easy to do if you don’t have the experience. A loose, wavy install that has not been power-stretched can be seen from miles away. Likewise on hard surface installations like wood, laminate, tile and vinyl, properly installed baseboards, moldings and undercut door jambs are the difference between a million-dollar install and the headache of callbacks, repairs and an unhappy customer.

The Three Phases of Flooring Installation

Phase 1
There are basically three phases to a flooring installation (phase one, floor prep, and phase three, the finishing details, are the most important). Phase one, floor prep, means making sure your substrate is clean, flat and dry. This is critical to any installation. For soft surfaces, making sure you have backed up or replaced any loose tack strip or old metals will make your carpet job smooth and relatively stress-free. There is nothing more frustrating when you are power-stretching carpet than to have popping tack strip.

For hard surface installations, not properly flattening, sealing and prepping your floor is usually the difference between being a pro anda weekend warrior. If while working on a floating install, you feel like you’re walking on a trampoline, then you probably left your 10’ straight edge at home. At this point you better stop what you’re doing, go home and get it. Pull up what you have done and fix it now, as fixing it later will take much more time and cost much more money.

Phase 2

Phase two is the actual installation of the floor. Sure, it looks pretty easy when you watch them do it on the DIY channel, which is why so many homeowner’s attempt to do it themselves. How hard can it be, right? Well, what they don’t realize is when you are paying for a quality installation, you are really paying for an excellent job not just in phase two, the install, but phases one (floor prep) and phase three (finishing details).

Phase 3
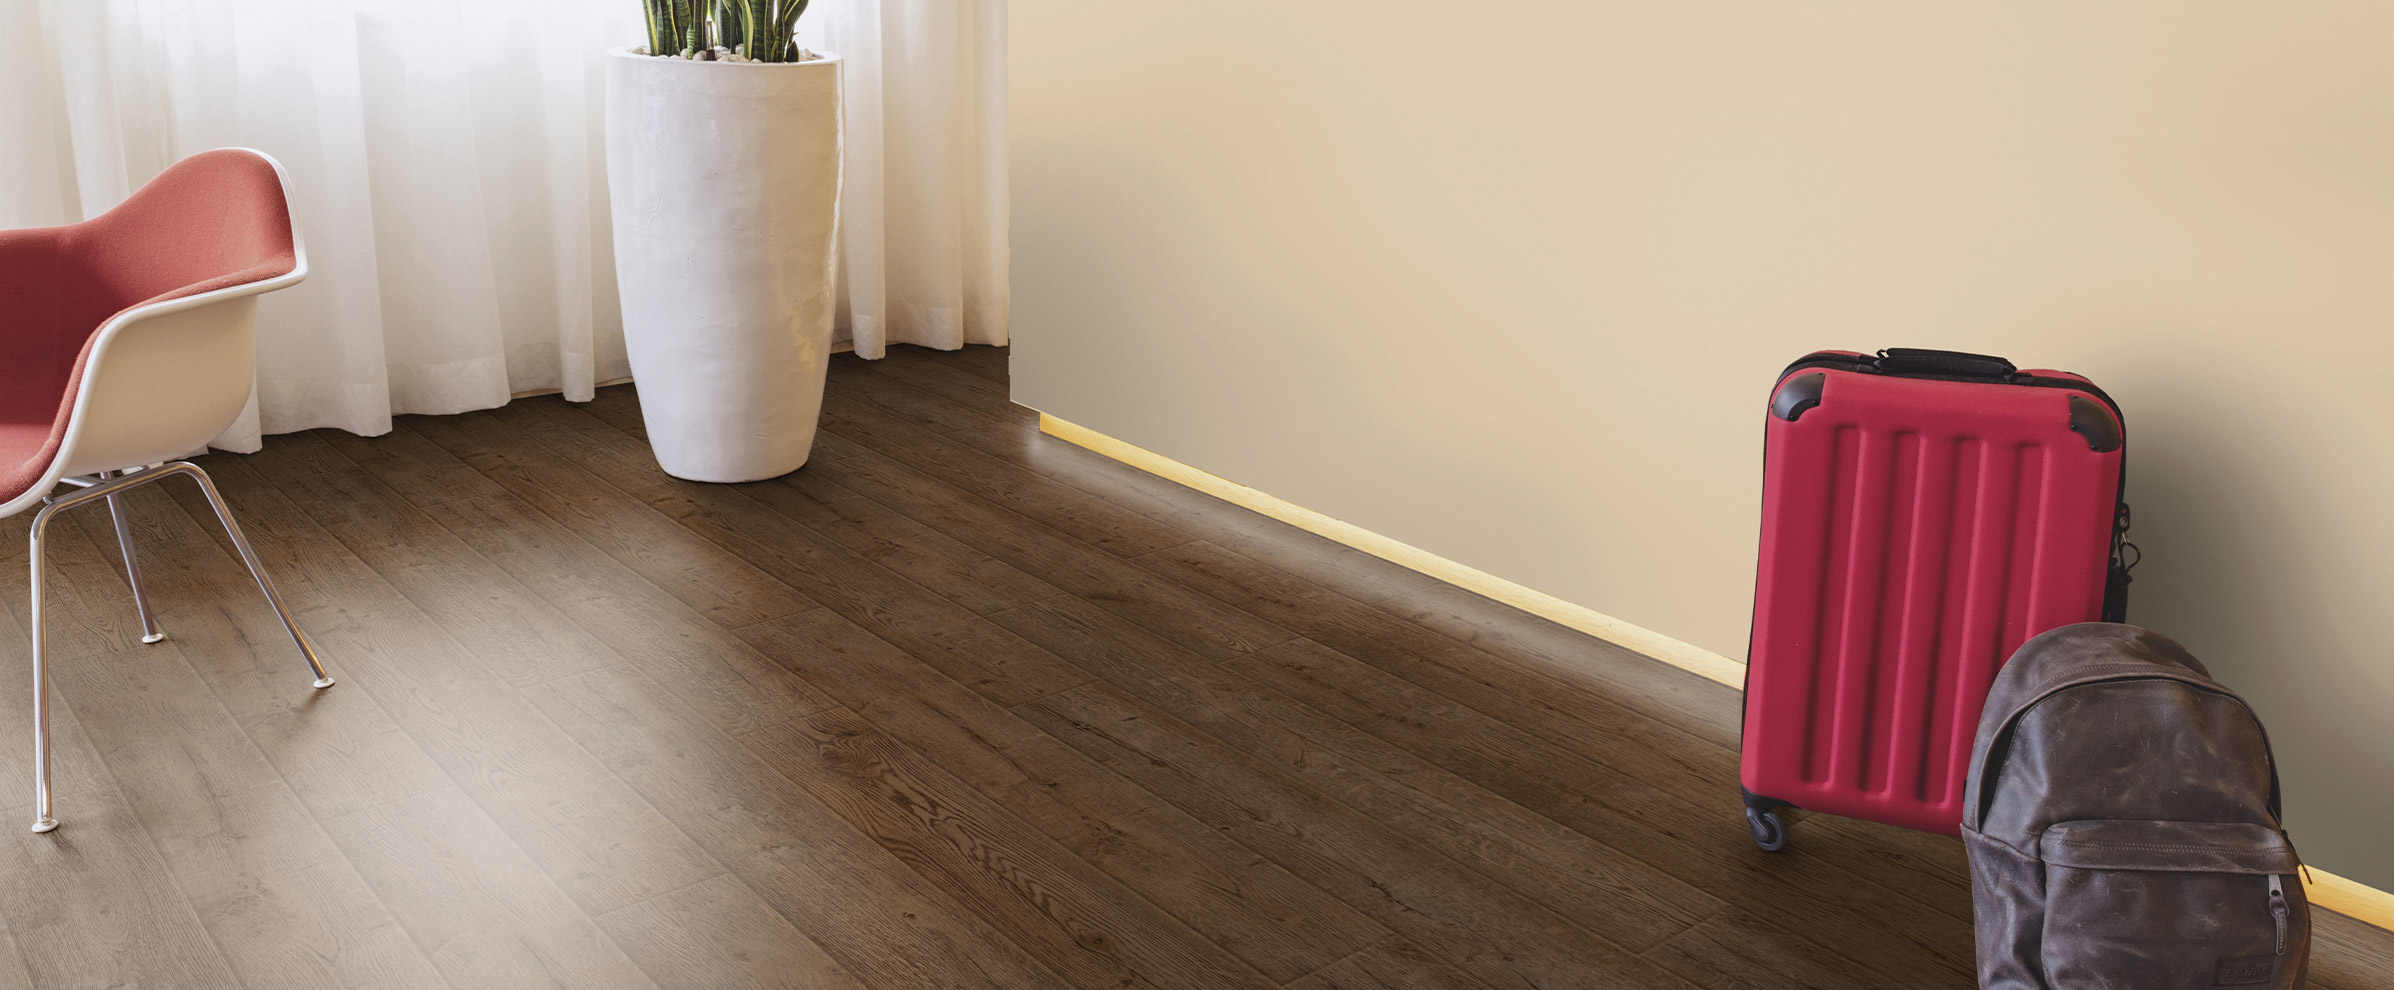
Properly installed base boards, quarter round, base shoe, T-moldings, baby thresholds, scribe moldings and other trims (all part of phase three) will make the difference between a happy customer and a callback, and set you apart from the DIYers. If you really want to set yourself apart from other installers, learn to stain and finish your own trims. To really wow them, learn how to cut hard returns on baseboard and shoe moldings.

Just because the manufacturer and retailer sold a 3” wide baby threshold as a transition at the sliding glass door does not mean it will look as good as a small scribe molding that you stained to match. If you’re not comfortable staining your own scribe molding, you might be able to take the prefinished baby threshold provided and rip it on a table saw to create your own prefinished scribe molding. I installed a baby threshold at a sliding glass door once and my customer told me it looked like an aircraft carrier on his hardwood floor. Compared to a small scribe molding I could hardly disagree.

Dealing With Transitions

floor transitions 101
Transitions like T-moldings and reducers can be tricky, especially when working with a concrete subfloor where pin nailing them down is not an option. Most installers will use a good construction adhesive and blue painter’s tape to secure them in place while the adhesive cures. However, when installing multiple pieces (for example at a tile, carpet or stone transition where there are angles such as a fireplace or tile entryway) the installer often finds the next day, after the adhesive has cured, that the pieces have shifted and become misaligned. Or maybe there are gaps.

This often necessitates buying new moldings and starting over, as removal at this point almost always results in breakage. This is often caused by someone stepping on the moldings before the adhesive has had time to fully cure, or the trim piece was slightly bowed and lifted up off the floor and the tape could not hold it.

The Trick to Floor Transitions

A simple method to prevent this is to purchase a $20 hot-melt glue gun from your local hardware store. When applying your construction adhesive, leave a small area on both ends of each piece and a small spot in the middle of the channel where the glue is to be applied. This is where you will place dollops of thermal-plastic glue.

Apply the construction adhesive first; making sure your molding is cut properly. (Dry fit first.) Then quickly place the hot-melt glue in the three spots where there is no construction adhesive. Quickly place the molding in place and hold in securely for about three minutes while the thermalplastic glue sets up (cools).The thermalplastic glue will hold the molding in place until the construction adhesive has had time to cure. No need for blue tape on transitions any more. This method will also save a trip back the next day to do a carpet re-tack after the construction adhesive cures.

The hot-melt glue once cooled will hold the carpet reducer in place, allowing for a carpet re-tack before the construction adhesive fully cures. Using the hot-melt glue gun will save you hundreds of dollars a year on callbacks, blue tape, replacing shifted moldings and trip charges for re-tacks.

Be sure and carry plenty of colors of wood putty and caulking. Putty any gaps and nail holes, and caulk the tops of your baseboards and around toilets and at bathtubs. Undercut your door jambs and keep your blades sharp. Doing all this leads to happy customers, which leads to more customers.

The Devil is in the Details – Don’t Cut Corners

Remember – the devils in the details so don’t cut corners. Make yourself a master of phase one and phase three; most anyone can do phase two in a pinch. You are not getting paid just for mastering one of the phases. You are getting paid to be a master of all three.

Interesting Hardwood Flooring Statistics – 2016

hardwood flooring industry news 2016We’re now a little over halfway through the year, and since January there have been a few reports released revealing various stats in the hardwood flooring industry that provide some great insight into what homeowners prefer and where the trends are headed.

What’s the Industry Show?

According to a report* published by Hardwood Floors Mag, the Magazine of the National Wood Flooring Association, there are many stats that’d we like to cover specifically.

1. Hardwood Floor Sales Are Up!

Distributors mentioned that a whopping 66% increase in the dollar value of sales occurred in 2015. Prior to that, an 84% increase had occurred in 2014. In short, hardwood floor sales are on a steady climb & we’re eager to see where the results will land from surveys distributed this year.

2. Highest Purchased Wood Flooring Species

From the report, distributors mentioned that 33% of their hardwood floor sales came from white oak species (a great example of this is our Chene collection), and 32% came from red oak species. Oak continues to stay a dominant choice for many hardwood floor owners. Homeowners should keep this in mind!

3. Highest Purchased Finish Sold

Hardwood floors come packed with a few different types of finishes to give them the beautiful, captivating look people desire. In this year’s report, hardwood floor sales consisted of 35% oil-modified finishes, and 49% were water-based finishes.

See: Oil-Based Finishes for Hardwood Floors.

Types of Hardwood Flooring Sold

While we’re huge advocates of engineered wood flooring for a variety of reasons, sales from hardwood floors consisted of 62% solid hardwood floors, and 38% engineered hardwood floors. This number will continue to grow as more contractors, homeowners, and distributors see the value and benefits gained from using engineered hardwood floors.

There’s a lot of other great information to check out in the report, we only merely covered the surface. The entire report may be found here.

*Please note that the statistics covered in this article were published in 2016, but taken from surveys completed in 2015.

“Why Can’t I Just Install Hardwood Floors Myself?”

diy hardwood floor installationUnfortunately, installing hardwood floors is not as easy as taking a staple gun and connecting boards together. The process is much more complicated. And in certain conditions and climates, it can add an extra layer of difficulty.

So, before you decide to Youtube a bunch of videos that lay out exactly how to install your new hardwood floors, here are a few things to consider first and foremost.

Why We Recommend Against Installing Hardwood Floors Yourself

1. The raw materials are not as easy to replace in case you make a mistake.

Unlike painting a wall, or replacing your kitchen cabinets, the raw materials of hardwood floors are expensive. This means that if you decide to take the task upon yourself and run into a mistake along the way requiring you to use another board, you’ll be making costly mistakes.

2. Special tools are required.

You’re going to need a lot more than just a hammer and nail to get the job done. Many power and hand tools are required for a successful installation of hardwood floors. Just to give you an idea, here’s a list of tools required on the job:

• Saws of all types (i.e. Circular, Table, Jig, Miter, etc) for getting the right dimensions of boards and planks
• Hygrometers for testing moisture levels – very important
• Glue adhesives
• Floor leveling tools
• Air compressors
• Nail guns
• Staplers
• Sanders
• Buffers
• Adhesive removers & glue adhesives
• Knee pads to prevent wear and tear on your knees

Many other tools are required; this is just a basic list of what’s needed. Chances are, you won’t really be saving much money in the long run if you decide to install hardwood floors yourself, but lack all of the necessary tools.

3. Extra working knowledge is required.

If you’re literally working from scratch without having any prior knowledge of either hardwood floors or installation projects in general, then the likelihood of making a costly mistake along the way will be very high. We don’t recommend this be a project you decide to challenge yourself on, unless you truly know what you are doing.

You’ll need to know information such as how to center rooms, how much space should be left for gaps, how do I work around closets, fireplaces, staircases, etc.

The Safest Bet is to Hire a Professional & May Save You Money As Well

By leaving the entire job to a professional, you’ll be certain to have the job done well & correctly from the start. If any mistakes happen, it’s on the professional to correct them on their own dime.

Chuck Talk: Understanding Wood Floor Cupping 101

wood floor cupping 101Cupping is an aspect of hardwood floors that some people will notice, but others will not. Of course, those who are experienced in the industry/trade will spot these imperfections with ease. But some of us will not & this guide is created for people like you.

Wood Floor Cupping 101

Let’s begin with defining exactly what “wood floor cupping” is. When the sides of hardwood floors are higher than the center of the boards, then it will produce a concave-like appearance or pattern. This is what cupping is. It doesn’t matter if the hardwood flooring is solid or engineered, this phenomenon may occur to both types.

We won’t go into more advanced details, but the issue arises from a response by the wood floors to changes in moisture content. However, we want to mention that cupping in engineered wood floors is reduced because of the integrity structure in which they are manufactured. Engineered wood floors use a backer, which is often plywood, to specifically provide stability in changing moisture conditions. Neat, right?

See: Understanding Moisture & Hardwood Floors.

The Reality of the Situation

In a large majority of cases, people have their hardwood floors installed by a professional who take into account moisture levels and the type of subfloor that your floors are installed on. By factoring in all of the components, the chances of someone experiencing cupping with their hardwood floors are reduced. Anyone who has installed hardwood floors on their own may (i.e. the DIY’ers) find these issues more troubling and frequent.

And the honest reality of the situation is that – in most cases – cupping may occur, but it may not be enough for the owner or anyone else to notice.

What if I Notice Cupping in My Wood Floors?

If you happen to spot cupping on your wood floors, enough that it bothers you every time you lock sight on it, then we absolutely suggest hiring a professional to analyze the situation, and work towards a fix. Because cupping occurs on a board-to-board basis, most often only a couple of boards will need to be replaced.

Understand that wood floor cupping most often occurs in the wintertime because of rapidly changing moisture levels. If your wood floors are installed during this time, then the professional in charge of installation should be well aware of the issue and work towards preventing it from occurring by installing your hardwood floors correctly.

Oil-Based Finishes for Hardwood Floors

oil based finished hardwood floors
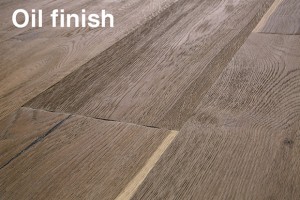
Oil-based finishes are only one type of finish in the hardwood flooring market, but they have slowly been making a strong return. Their largest competitor is water-based urethane finish. A few reasons why oil-based finishes are gaining ground are not simply because of the appearance that can be achieved, but because of the environmental factors, ease of installation, and ease of repair.

Benefits of Oil-Based Finishes

We just touched briefly on a few of the benefits oil-based finishes offer, but we want to elaborate even further:

Strengthens wood fibers – oil-based finishes do not sit on top of the hardwood floors, but will actually penetrate the floors and strengthen the wood fibers, which leads to a decreased chance of shrinkage, better hardening, and enhanced water repellent.

Learn How to Prevent and Fix Water Damage.

Easily repairable – what this actually means is that if minor scratches or typical wear and tear were to occur, then a floor with an oil-based finish would respond to fixes much easier than other types of finishes – without the use of a professional required.

DIY: Fixing Dens, Scratches, and Gouges on Hardwood Floors.

Environmental concerns addressed – most oil-based finishes are created from plant-based raw materials. An example of this may be found on all floors featured in our Composer Maestro collection of oil-finished hardwood floors.

Design/Appearance
– in short, it’s really tough to receive the same type of rich, wood glow that is attained from the use of an oil-based finish over water-based urethane finishes. Oil-based finishes have a way of bringing your hardwood floors “to life”.

Where Would I Start in Applying an Oil-Based Finish to My Hardwood Floors?

If you’re interested in applying an oil-based finish to your hardwood floor as a way to refinish it and restore it’s beauty, then we highly suggest hiring a professional to get the job done correctly & efficiently. If you are ever unsure of how to perform a DIY task on your hardwood floors, we always recommend a professional in order to prevent accidental, irreversible damage from occurring.

How Can I Prevent My Hardwood Floors from Fading Over Time?

prevent hardwood floors fading sunYou’ve purchased new hardwood floors and the salesmen told you that your beautiful hardwood floor’s colors would most likely fade over time. Or they didn’t tell you this. Either way, it’s important to understand that with any hardwood floors, there will be color fading experienced.

Remember: Hardwood Floors are NATURAL

Hardwood floors at their very core are NATURAL. This is an important feature to emphasize. Anything that is natural will undergo changes as it ages over time. For hardwood floors, the changes occur in the color of the wood. Some species of woods will fade lighter and some will fade darker. This process is known as “patina”.

Some people have absolutely no problems with their hardwood floors fading over time. Sometimes the changes are so subtle only you would notice. And then other people prefer to have their floors stay their original color from the time they were first purchased. In this case of the latter – what can you do to prevent this natural fade from occurring, if possible?

Preventing Hardwood Floors from Fading Over Time

First you must understand the 2 factors that cause hardwood floors to change color at all:

1. Exposure to sunlight.
2. Applied finishes and/or stains.

Minimizing exposure to sunlight.

The key here is to reduce your hardwood floor’s exposure to sunlight. The best way to accomplish this is by covering up your windows, as windows are the main source of sunlight to your floors. Blinds, drapes, or shutters all work very well. More costly options include upgrading your windows to low emissivity glass or window film, but work very well at keeping UV rays and IR light at bay.

Outside of windows, you may also utilize furniture and rugs to your advantage. By constantly moving rugs and furniture around, you spread he sunlight across all areas of the wood, which will slow down the fading process greatly. Also, it can be very fun to move your interior around every so often – it’s a nice change of pace.

Choosing the right finish.

Lastly, let’s talk about finishes. Oil-based finishes bring out very rich colors in your floors, but will yellow over time for a slightly amber appearance. Some people may be very pleased with this. However, if you’re absolutely concerned about maintaining your hardwood floor’s original color, then we recommend applying a water-based finish, which essentially remains clear the entire time, minimizing any long term fading that may occur.

But My Hardwood Floors are Already Faded?

If your hardwood floors have already reached the stage where the faded color has made it’s presence known and you absolutely cannot stand the sight of it, then the only solution is to sand them down and re-finish them. However, unless you know what you’re doing we strongly recommend a professional to handle this task.