Let’s Talk About Color: Light Hardwood

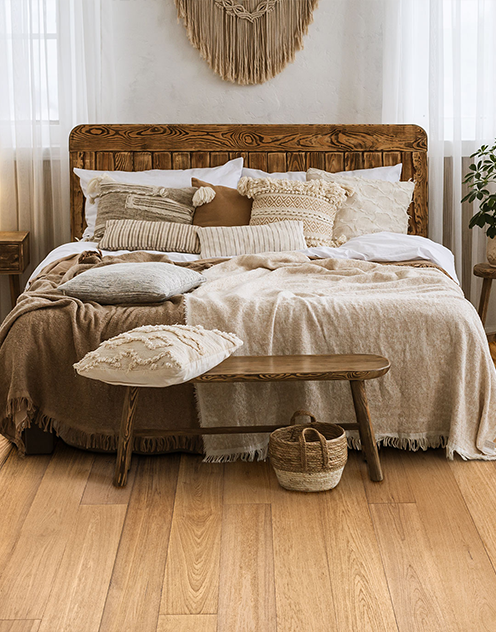
Styles are constantly evolving and it is good to keep that in mind when it comes to selecting your floor. Your flooring choice will cover one of the largest surface areas in your home so it is important to select a floor you know will both compliment your design aesthetic and stand the test of time. As it is often the most dominant design look, the color floor you select sets the tone for the space so it is important to ask yourself, “What do I want the design of my home to say?”. Hardwood flooring is an investment and when it comes to color selection, there is no “one size fits all”. What works in one home and in one design plan, may not fit your unique space. But never fear! We have many colors and tones to choose from and you will find the perfect floor for you here at Urban Floor! For today and for the sake of time, we will narrow our discussion to light hardwood and the many benefits of its elegant look.

Chene Lambrusco

“Your flooring choice will cover one of the largest surface areas in your home so it is important to select a floor you know will both compliment your design aesthetic and stand the test of time.”

Hand-scraped Maple Natural

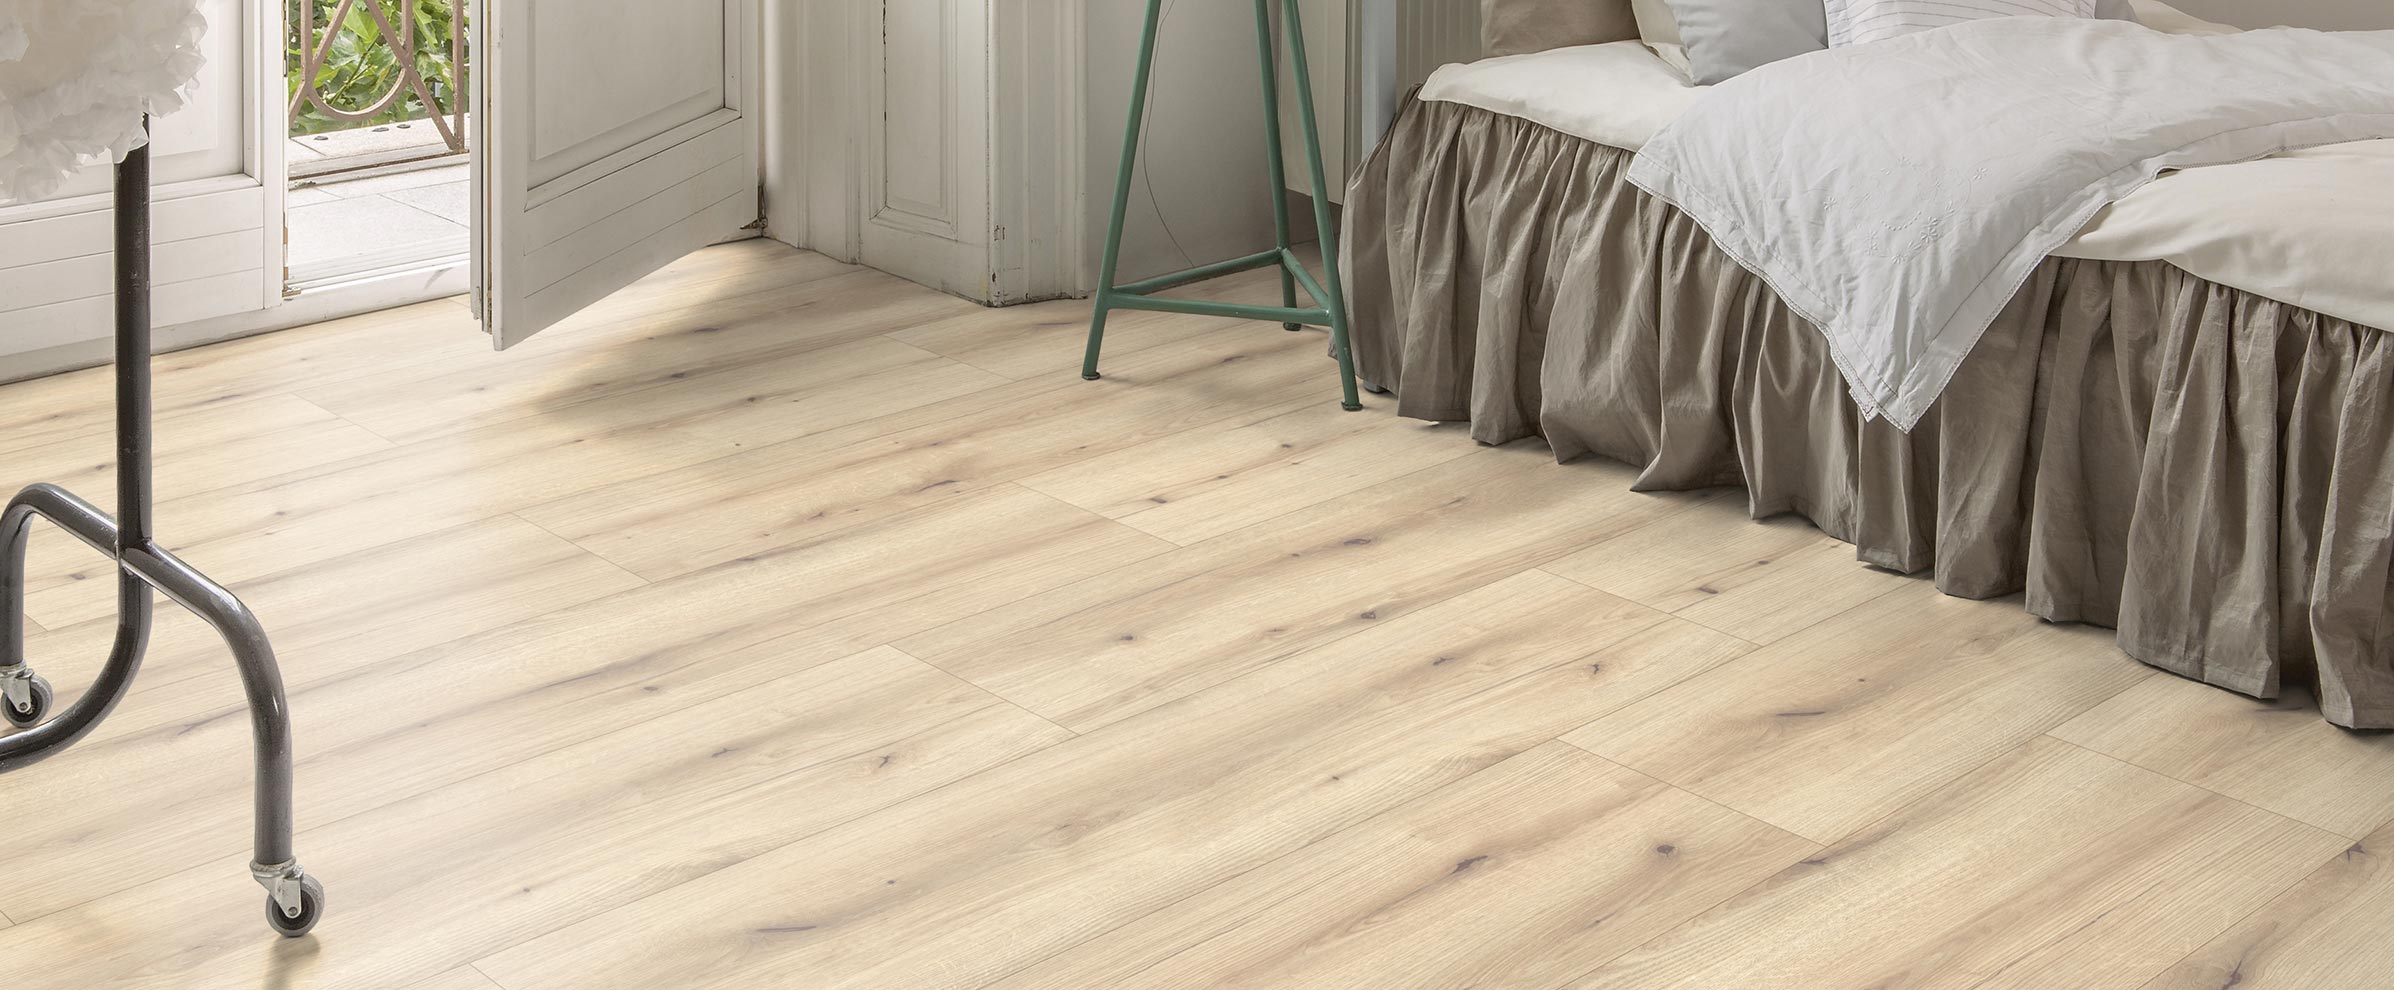
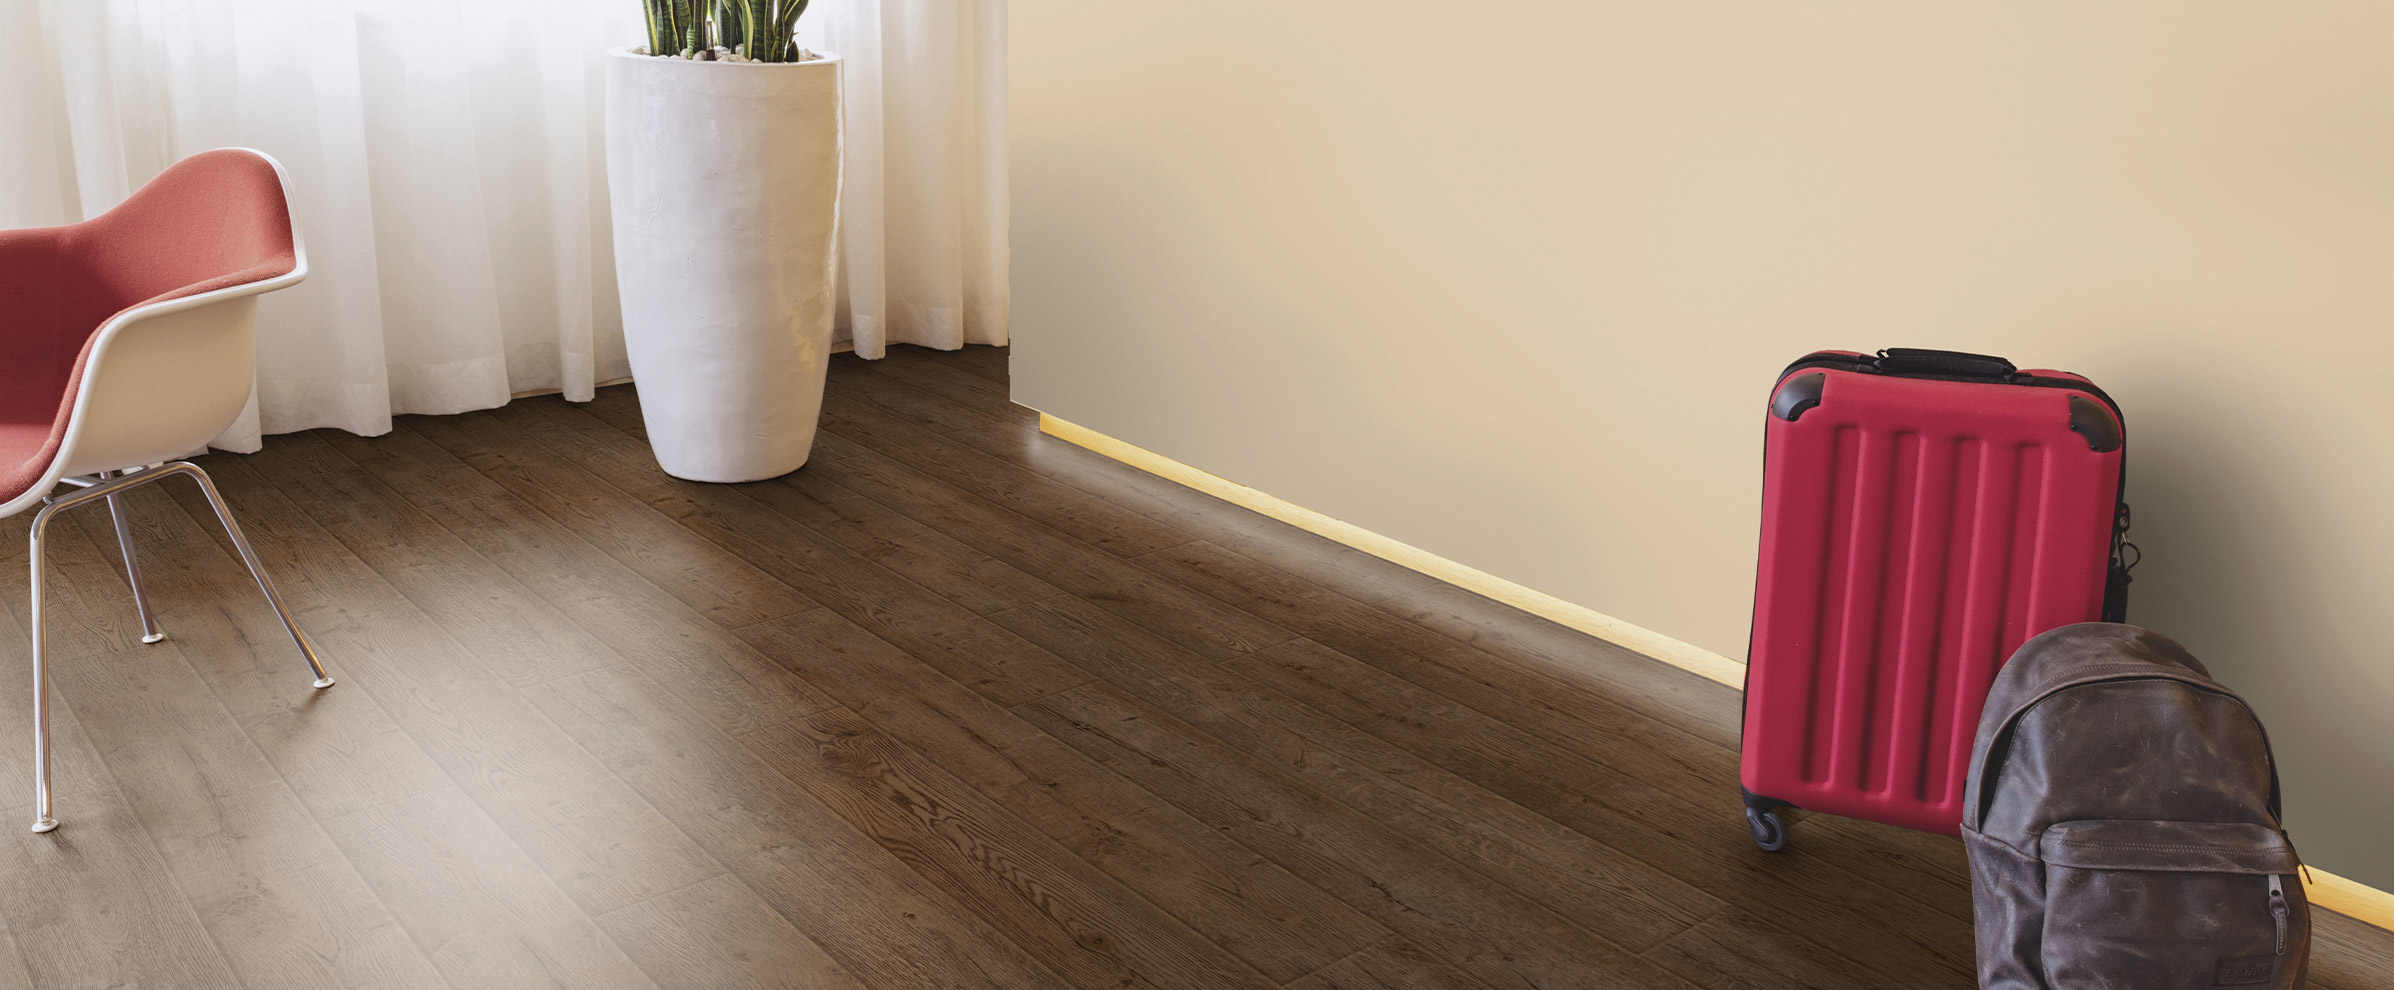
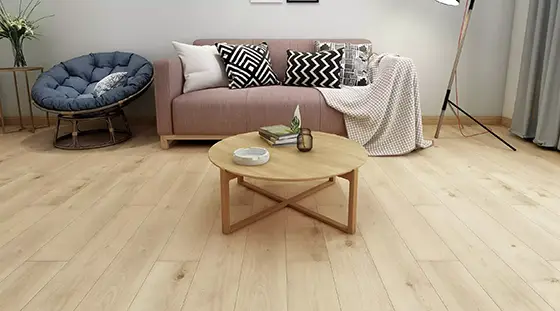
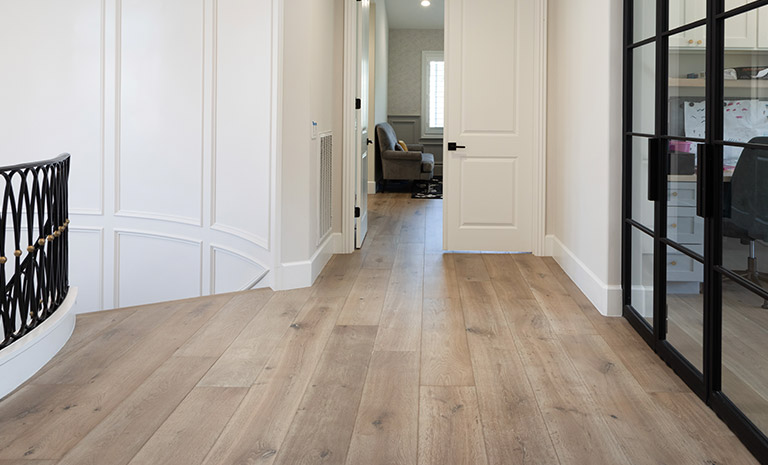
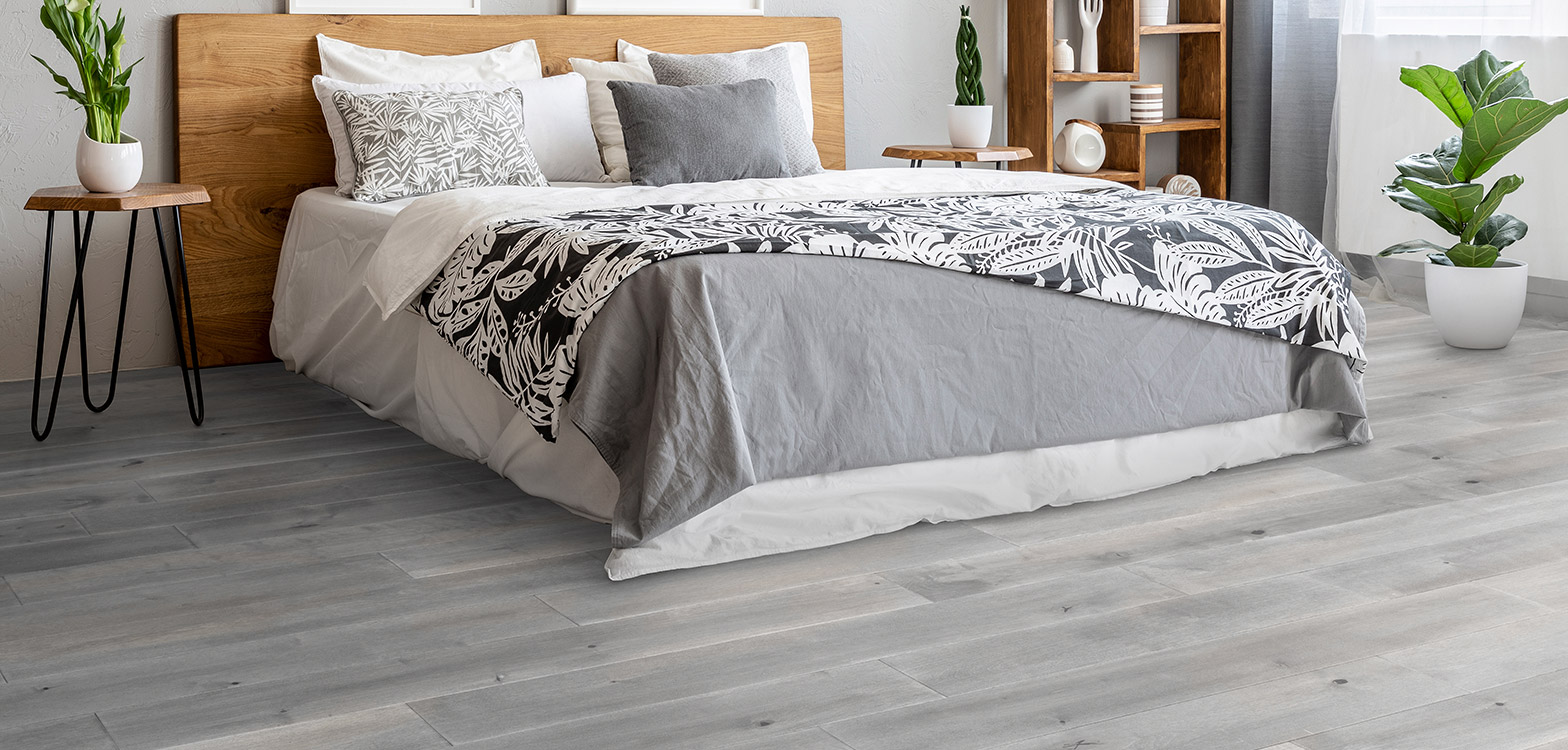
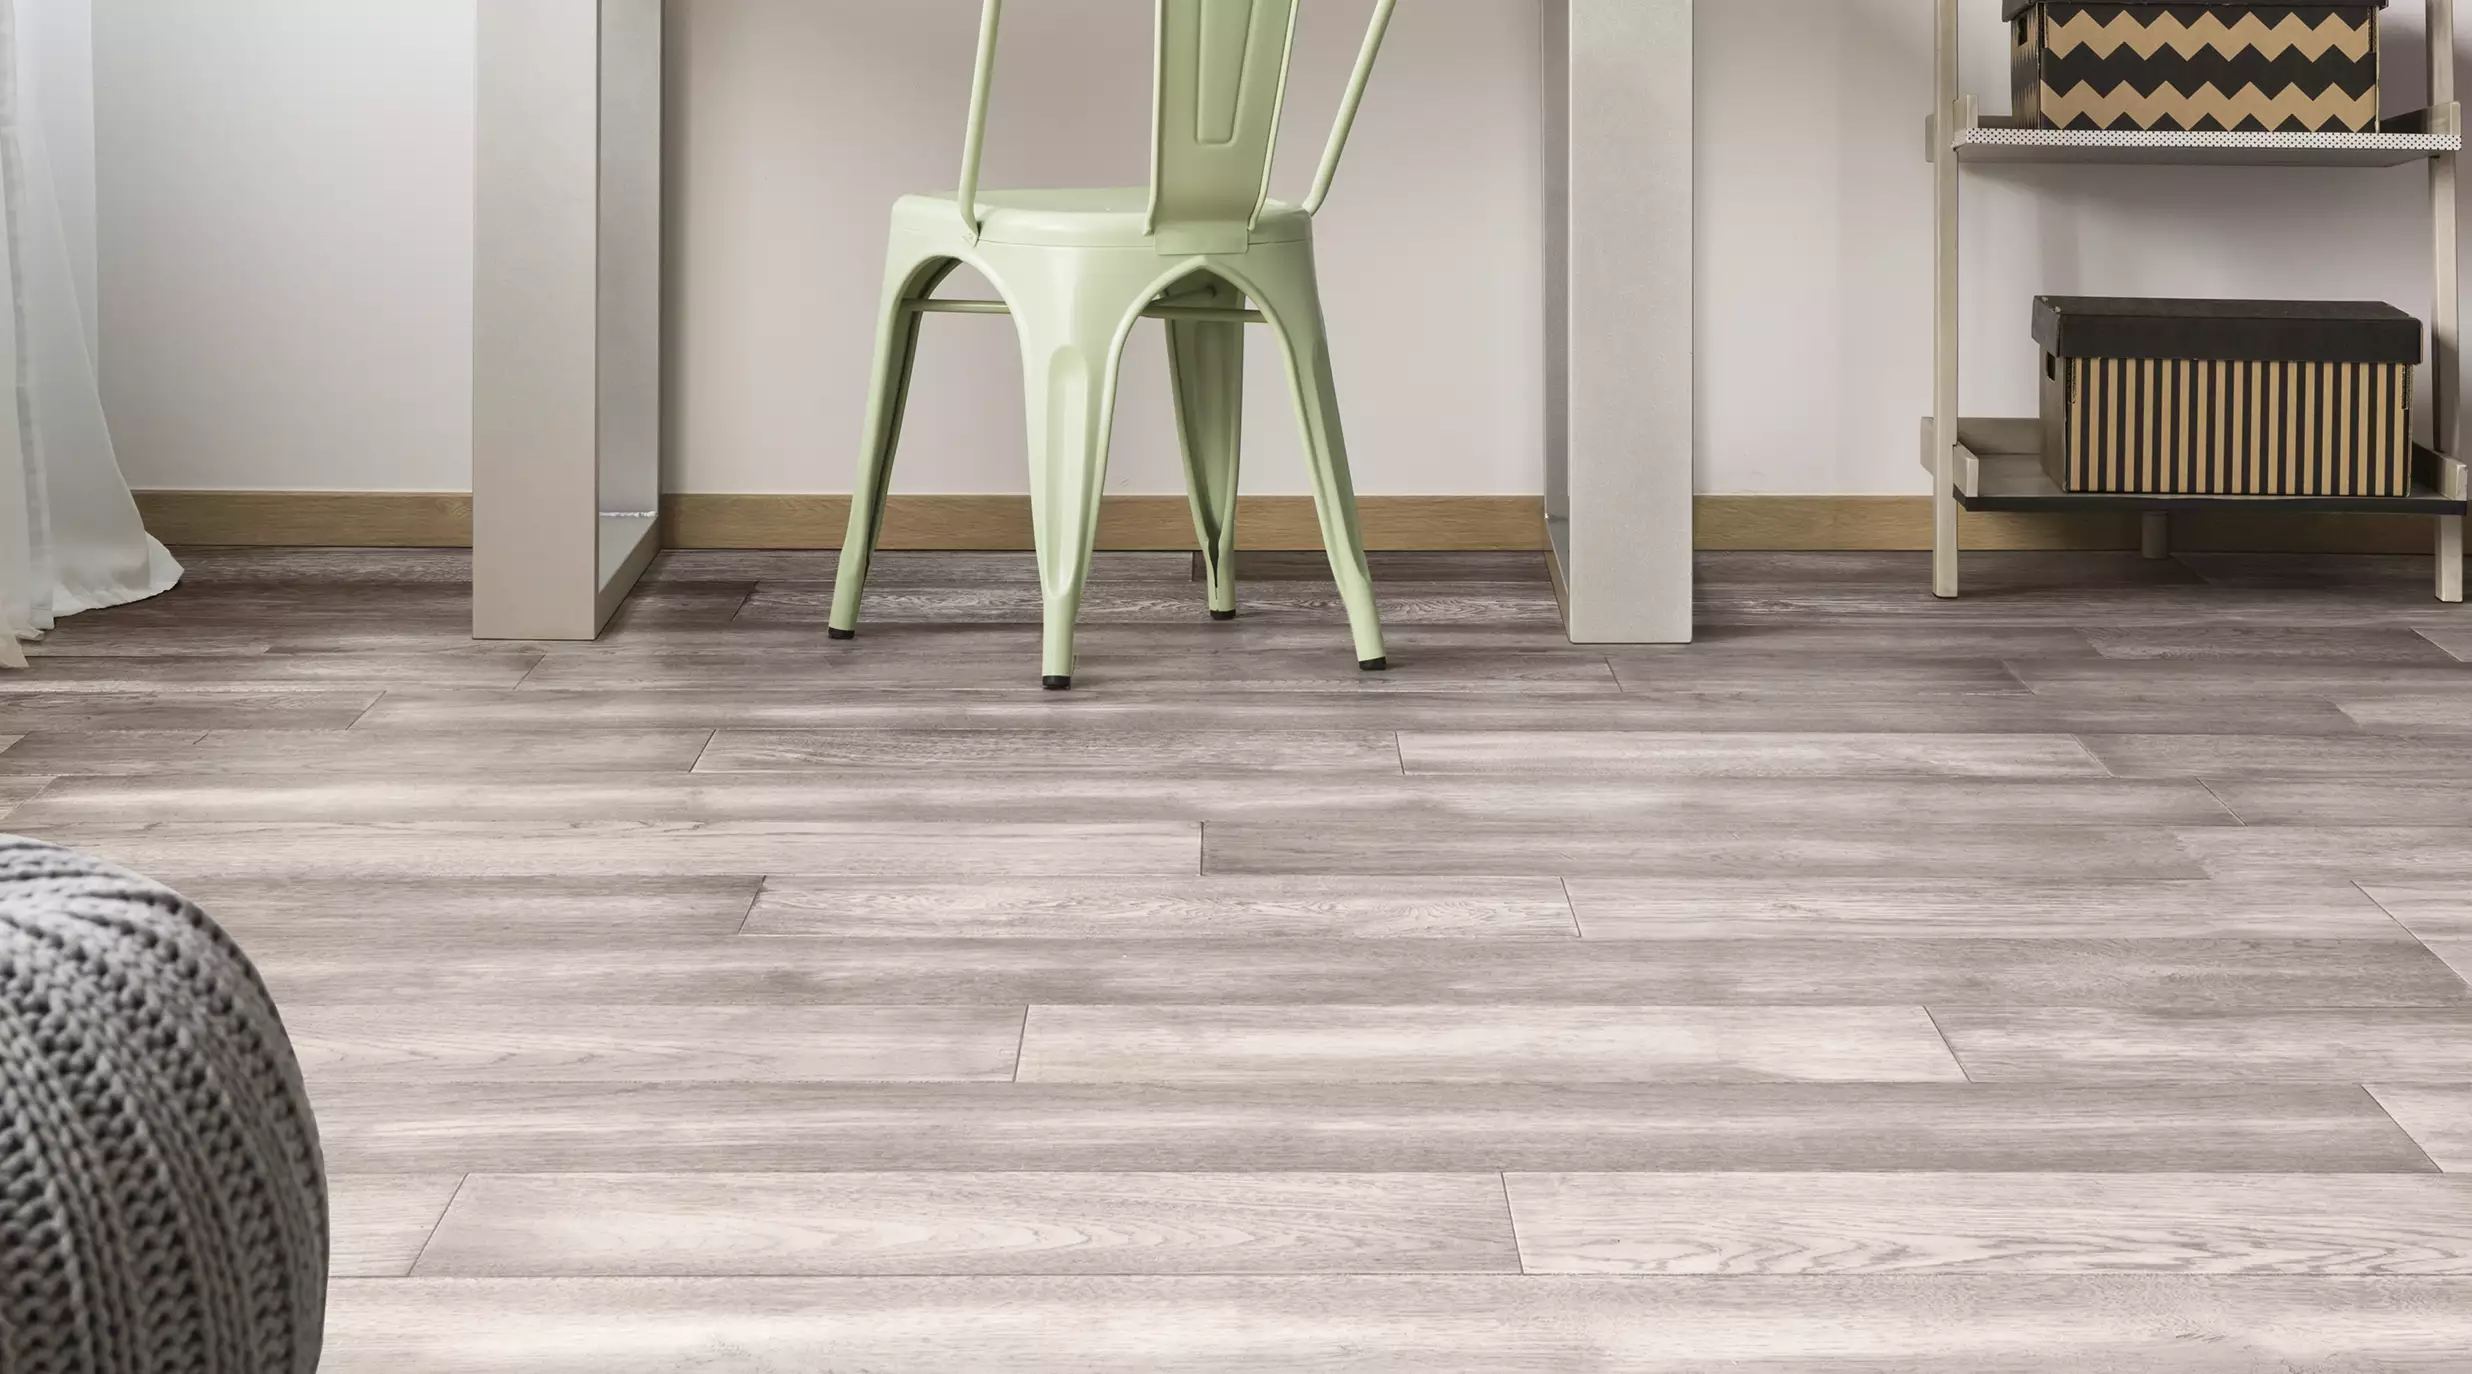
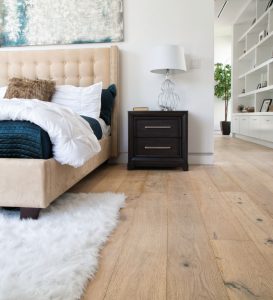
Light hardwood floors have a very distinct advantage when it comes to cleaning and care over darker floors. With their lighter color, they are especially easy to keep clean as they mask dents, scratches, and scuff marks. They also tend to show less dirt and less pet hair (for those with furry family members) than darker stained hardwood. Natural expansion, however, may be more prominent with a lighter hardwood as it shows the shadows of the expansion gaps more. This natural expansion and contraction, however, can be minimized with proper environmental controls and keeping your home between 60ºF to 80ºF, and humidity levels between 30%-50%.

Exotic Maple Natural

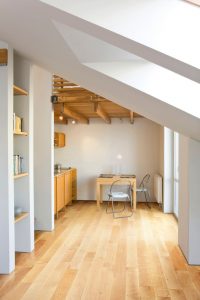
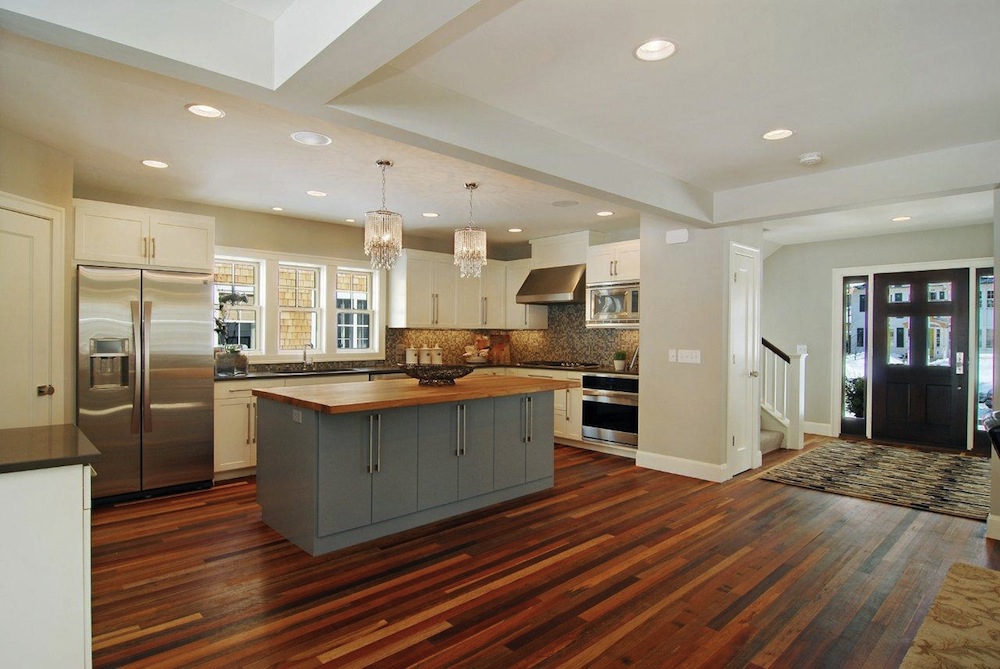
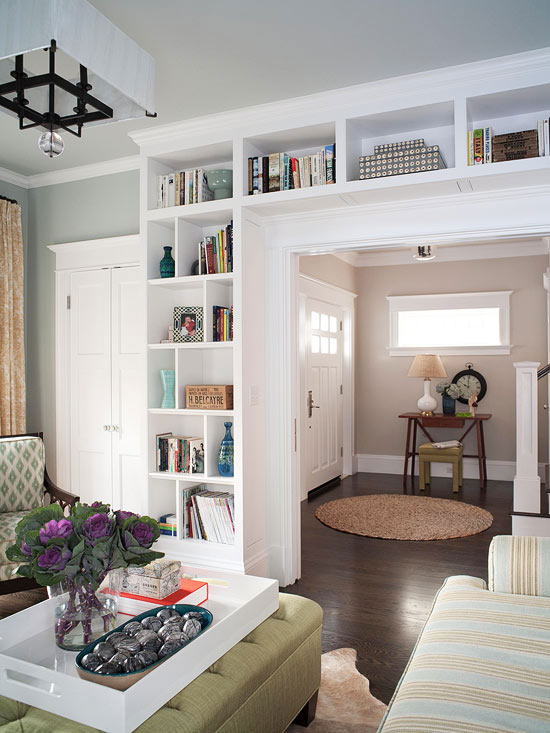
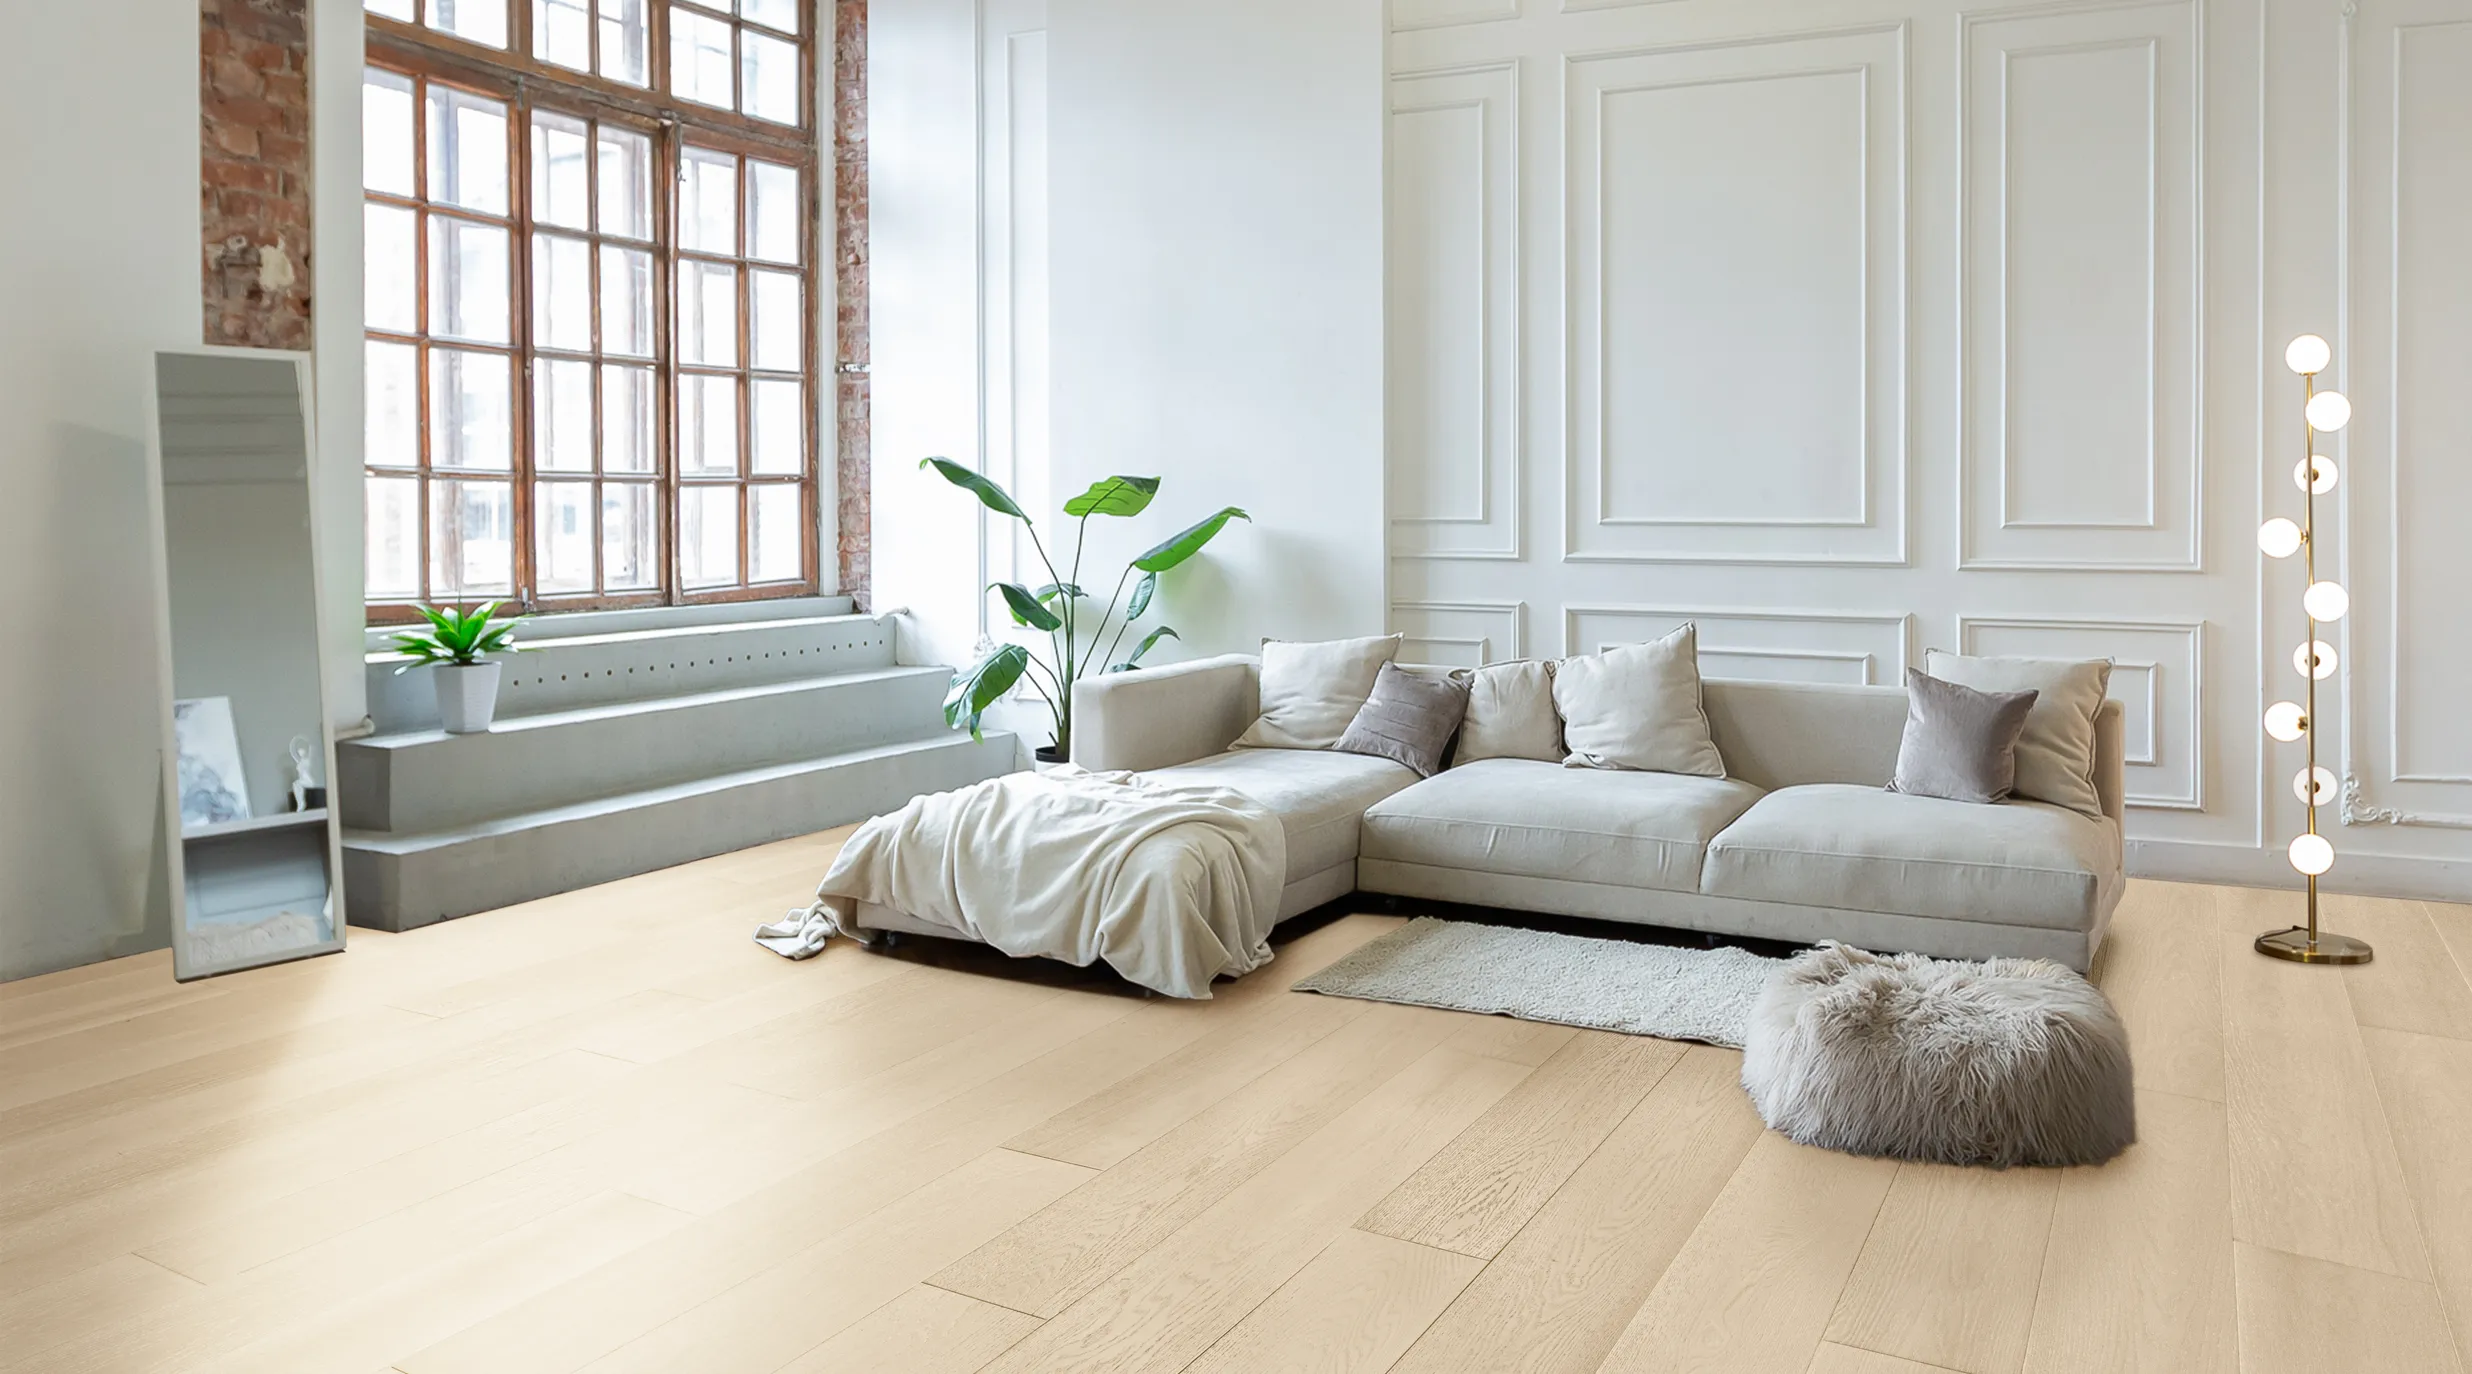
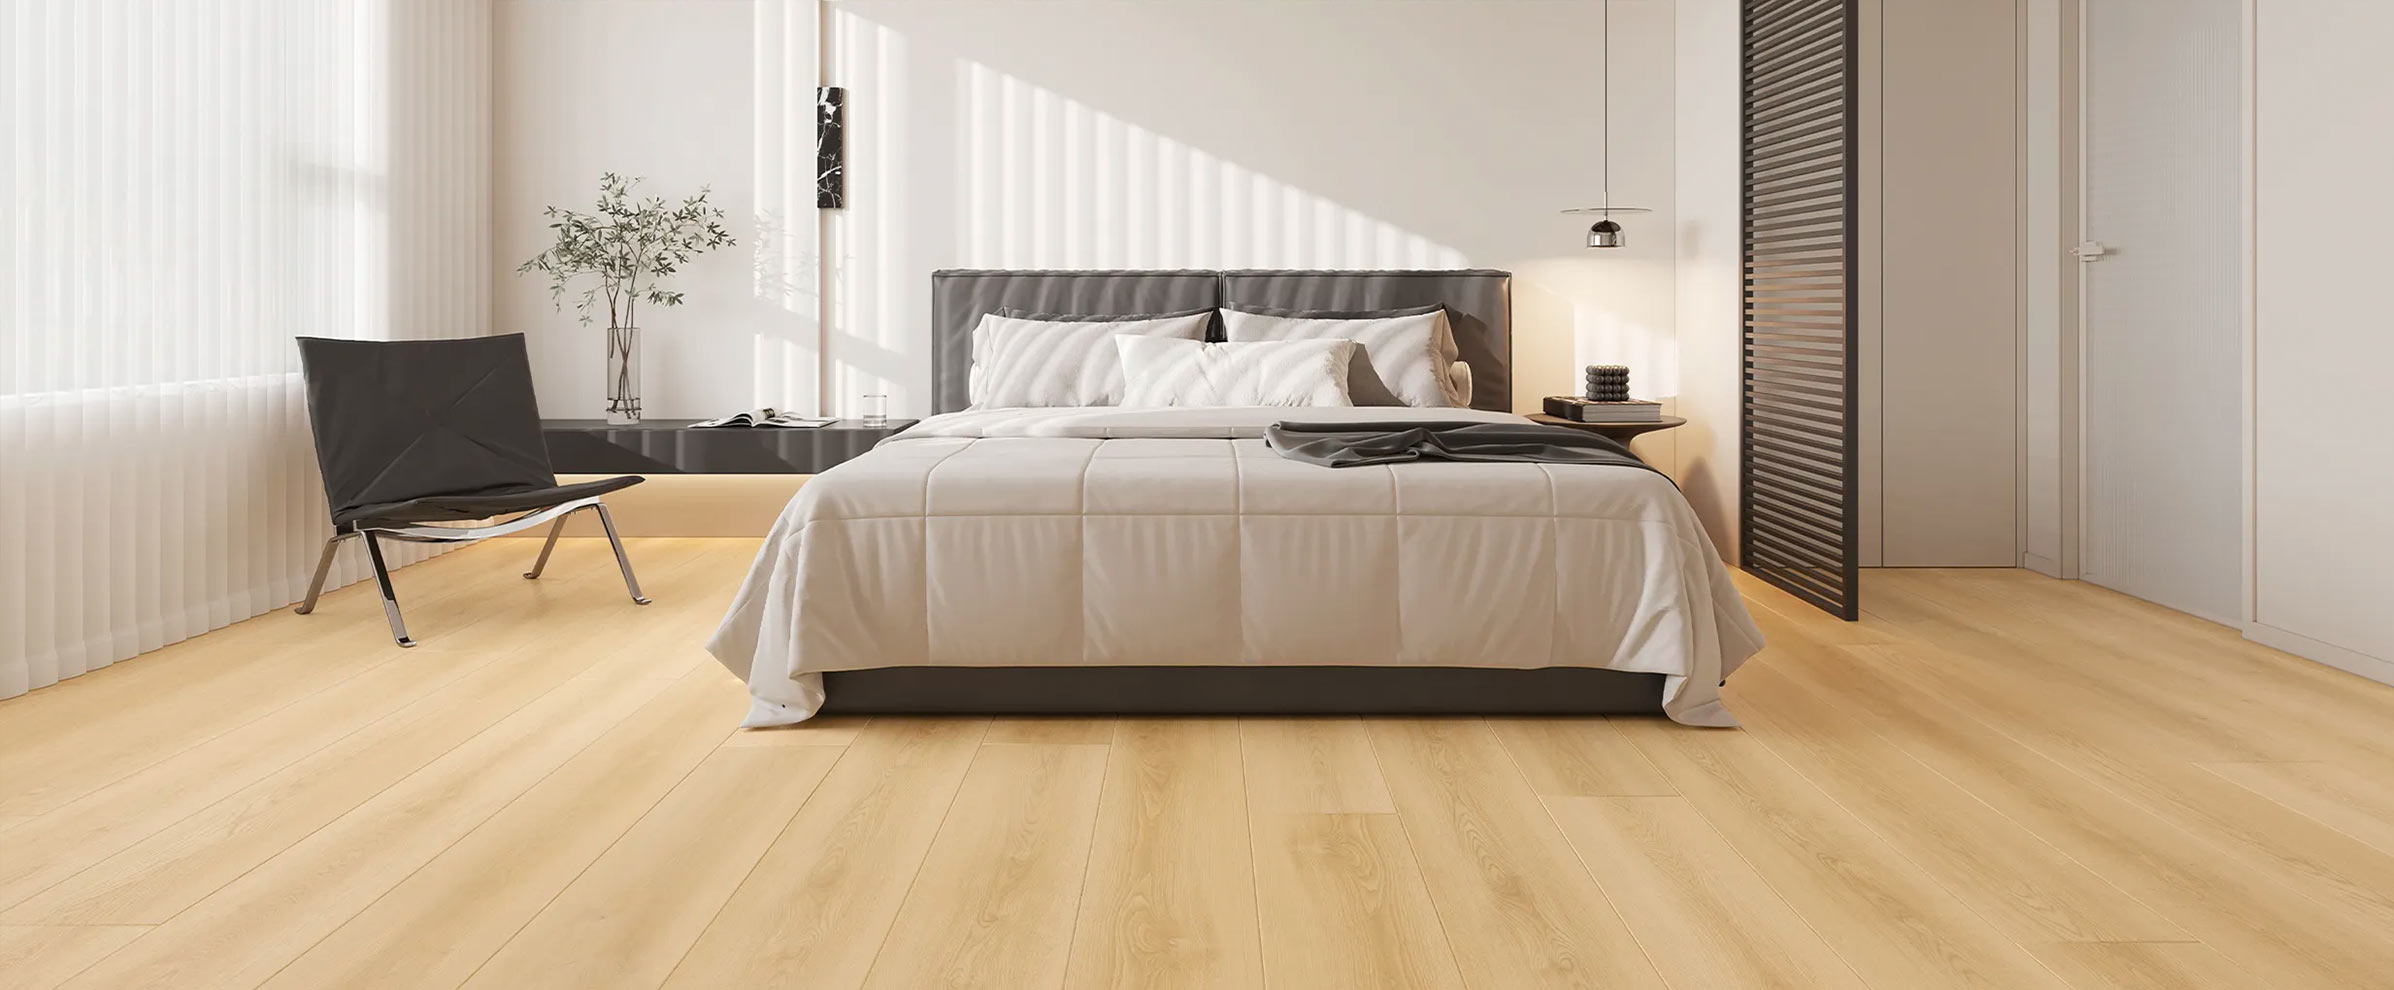
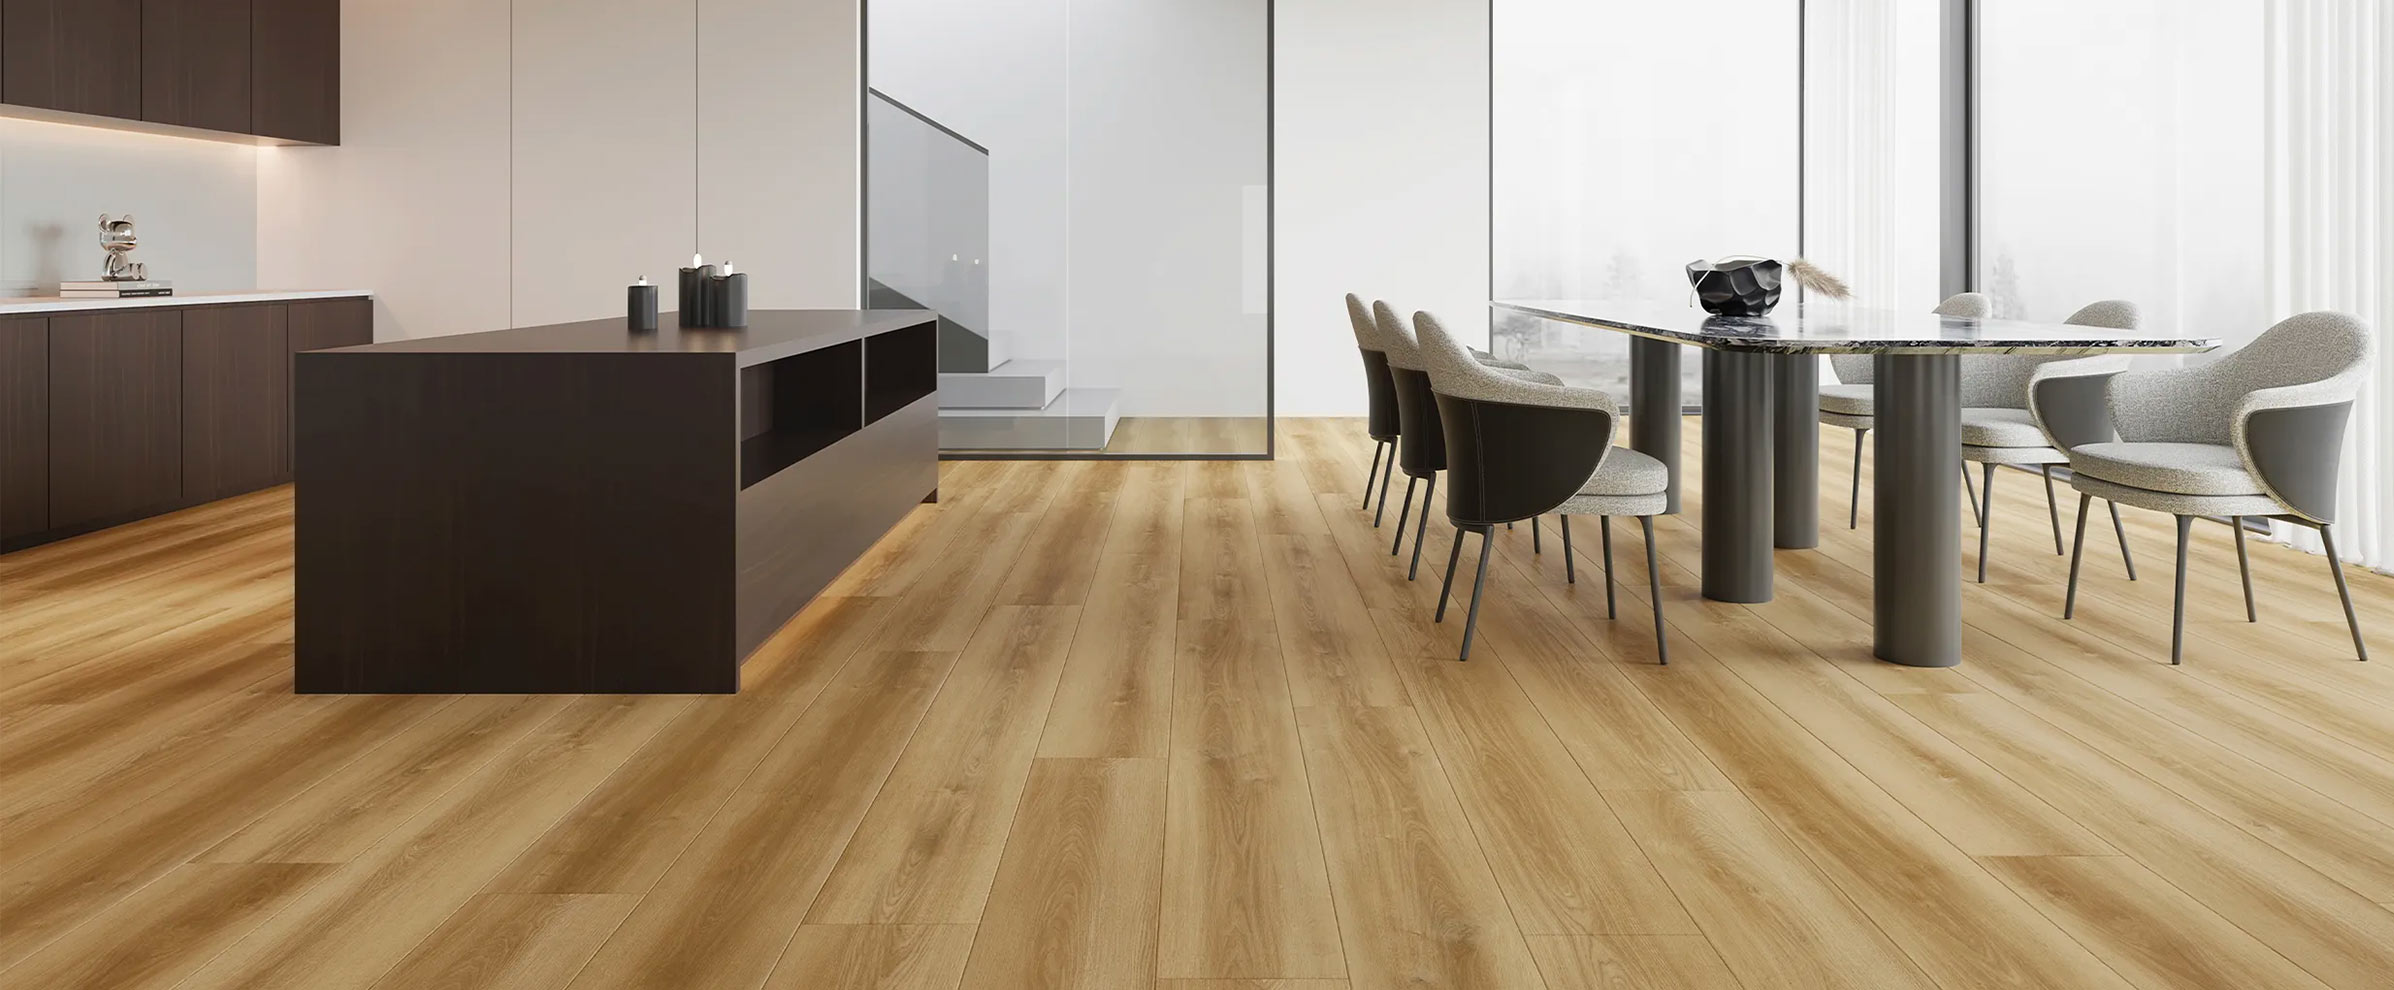
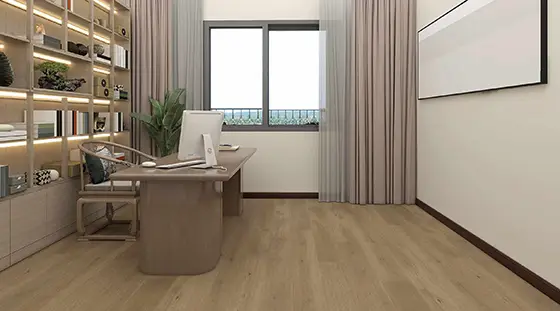
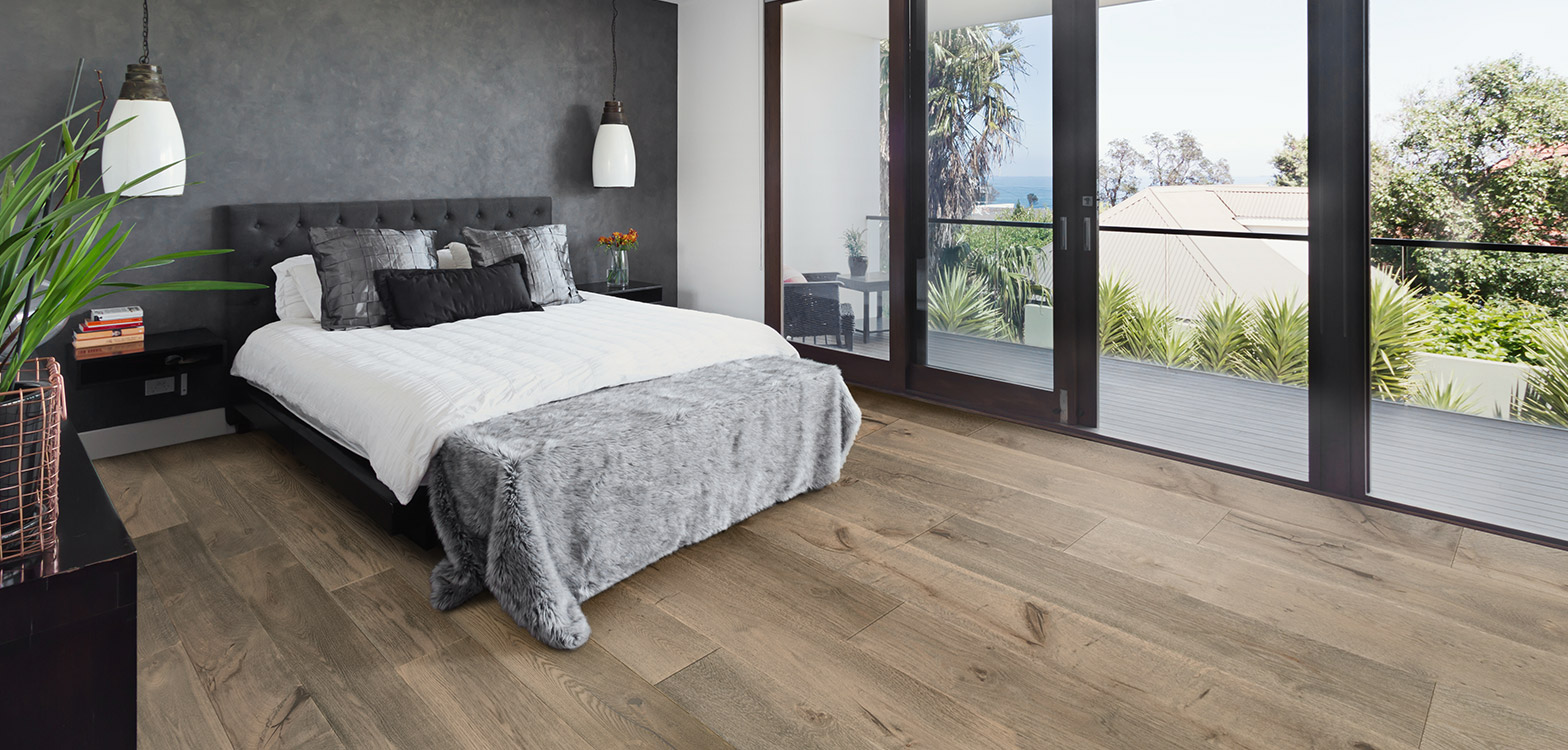
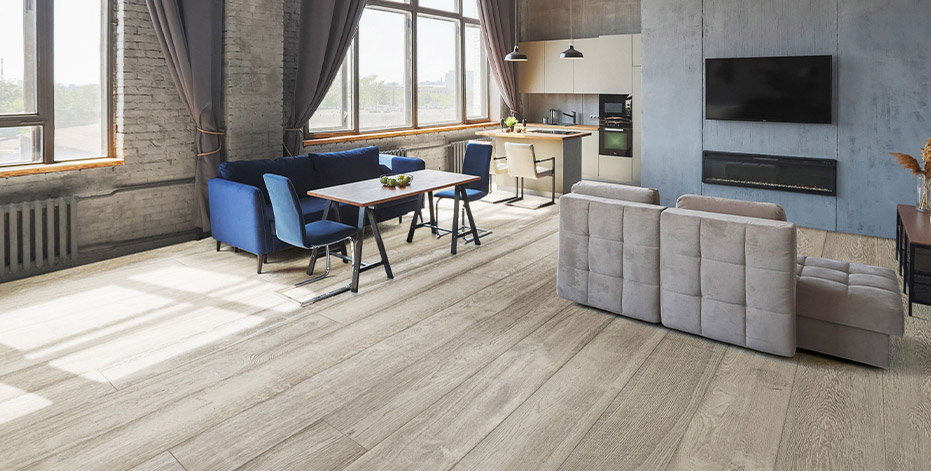
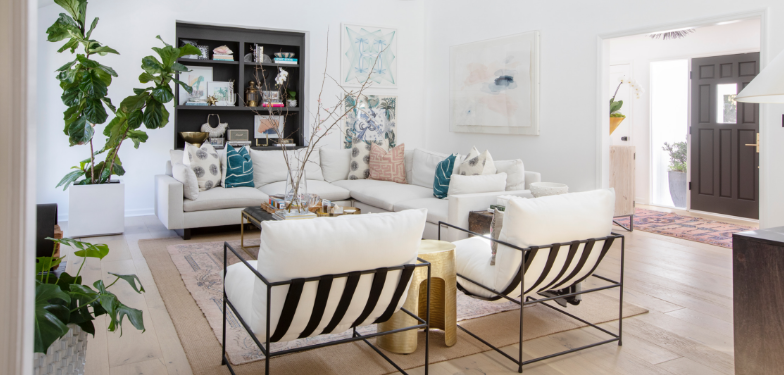
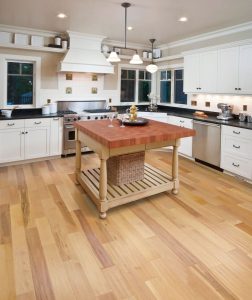
Selecting a light hardwood floor will brighten your space as the light, fresh color opens up the space, making smaller spaces appear larger. Lighter floors tend to accentuate the amount of natural light that comes into the room and give your home a airy, bright feel. If you are a fan of contrast but don’t want a smaller room in your home to perhaps appear smaller with a dark hardwood, go with a lighter floor and bring in contrast with paint, furniture, and other decor.

Chene Riesling

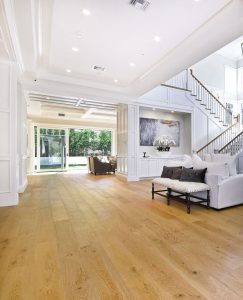
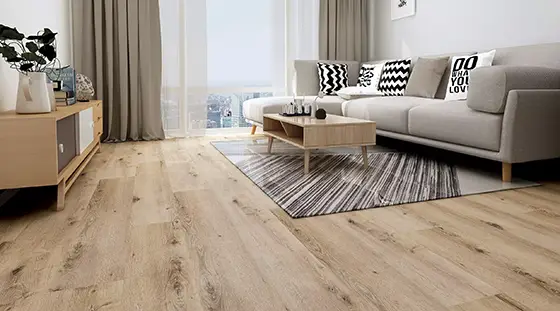
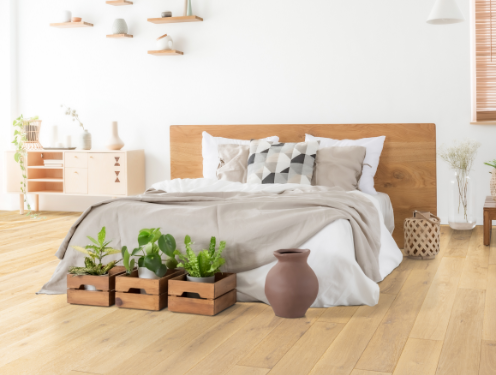
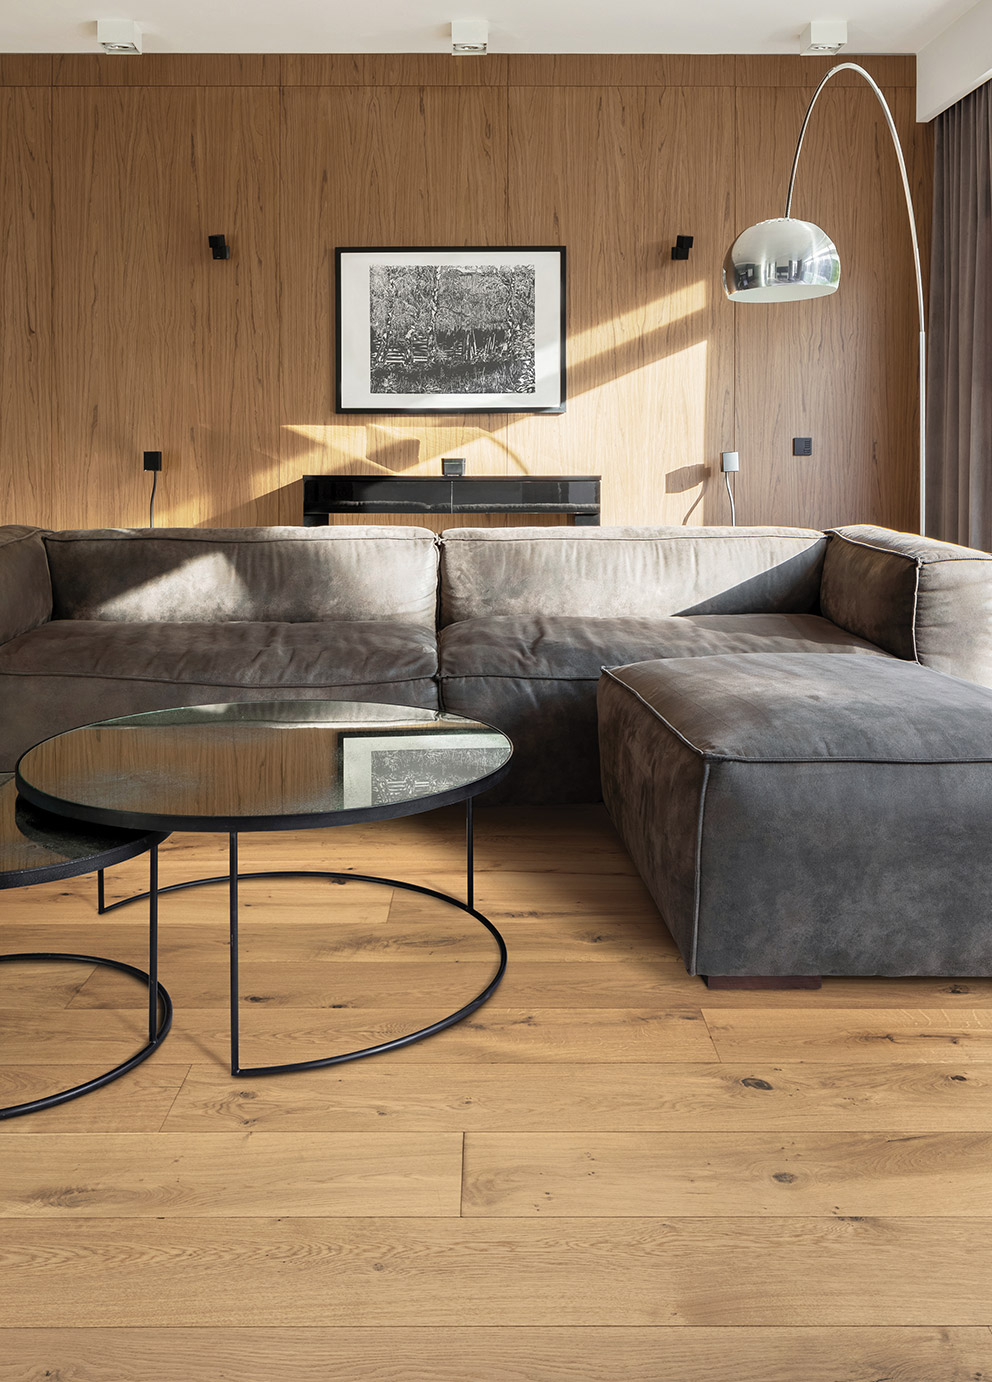
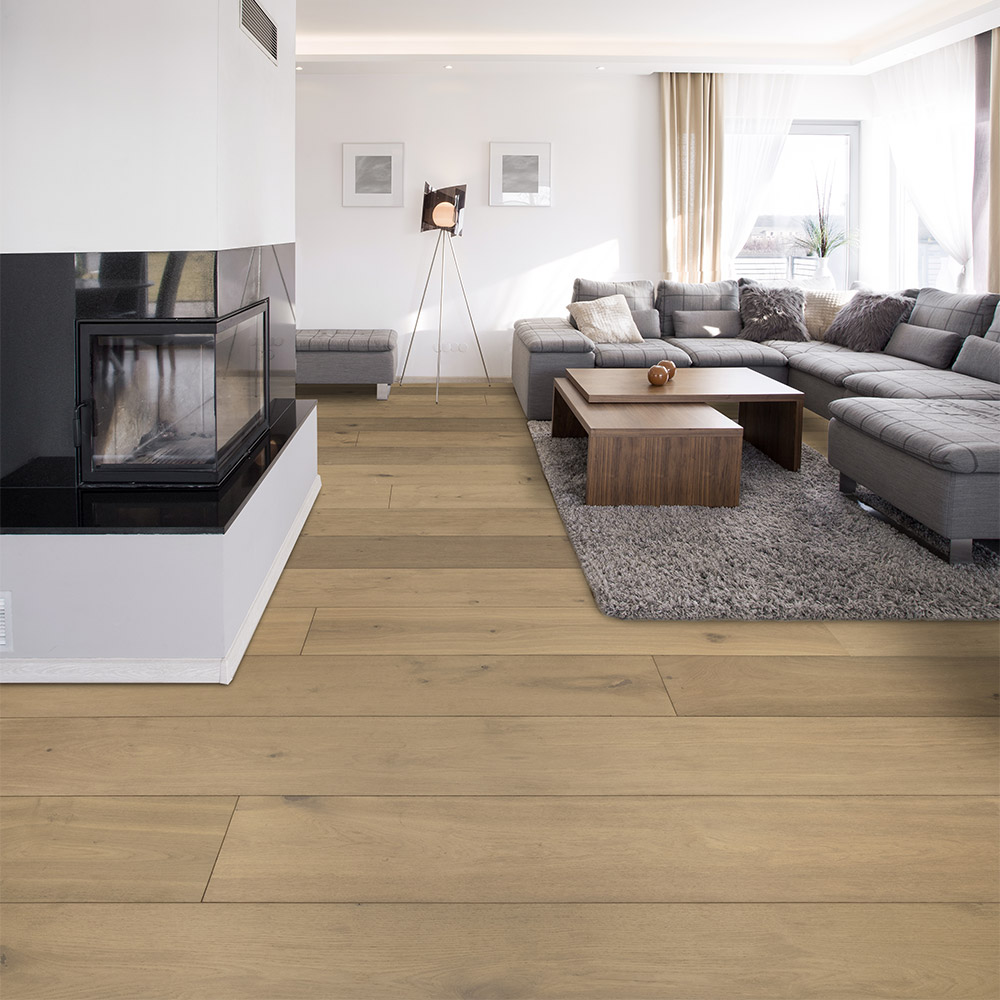
While darker hardwood seems to be leading modern trends, there is nothing like selecting a classic, warm and natural wood tone to compliment the aesthetic of your home for a truly timeless style. What do you think? Is light hardwood flooring the right choice for you? Tell us in the comments below!


Out Goes Summer, In Comes Fall

about-romagna

Summer is officially over and we’ve had our fun in the sun. Beach trips, camping, barbecues, all that jazz. It all went by like a blink of an eye and Summer never seems to last long enough nowadays. Back in grade school, summer vacation seemed to last forever and the days never seemed to end. Now it seems like the years are becoming shorter and shorter but maybe that’s just growing up.
Hello Autumn


With the end of September Autumn comes into play (or Fall, whichever you prefer) and the weather begins to cool down, school is back in session, and colors change from bright greens to warm oranges. I wholeheartedly believe that the commencement of Fall is the kickoff of our Holiday season, so I have an inclination to become incredibly festive no later than October first. Is that a bit premature? I like to think not. So we’re going to talk about small interior design touches for your entry way to set the mood utilizing the color of your hardwood floor as a staple to create a big impact on your Autumn aesthetic.


I like to welcome the seasonal change and embrace the vibe right off the bat by hanging a beautiful wreath and a themed welcome mat outside the front door. As soon as someone approaches the home, they are well aware that this fall inspo isn’t to be taken lightly. These are serious matters and this isn’t a game. Nothing says Autumn celebration décor like foliage and of course welcome mats are always fun. So we’re creating a story before the door is even opened.


Now, once you walk in the home, the entry way smells of cinnamon apple cider with the help of a seasonal inspired candle or two. This is where we get a little scientific with our interior design, we want a full sensory experience of fall in the home. If it was at all possible, I’d have small gusts of chilly wind brush the faces of company when entering, followed by the heat of a fireplace, warming and comforting my visitors. That may a bit extreme, but that fantasy-land experience would never be forgotten. I digress.


Finally, we can talk about décor. Sure, you can add a pumpkin here or there like everyone else if you want to go the obvious and expected route, however we’re attempting to conceptualize with a higher taste design mindset to capture the aesthetic of Autumn, while at the same time elevating the style component throughout. A printed throw rug or a runner over a color wood floor like our Bach from the Composer collection could be an ideal element to add. The rug wouldn’t necessarily have to be burnt orange in color, you could have a deep forest green, or even a dark shade of purple to contrast the actual “Autumn colors” people associate the season with. Of course if you have a wood floor like our Grant from the Presidential collection, you’d want to stray from darker colors and go with a tan rug or soft light hue of red. You could build around the hardwood/rug combo with a vase filled with a bundle of sticks and a few more pops of color, perhaps a teal or lime green picture frame for a bit more contrast and there you have it. A small base and introduction of Fall themed interior design for your entry way that can continue onto the rest of your home. Even if you aren’t one to redecorate often, these little additions can go a long way in bringing a festive atmosphere to your home. Happy Autumn, friends!

Mood Board

Refinishing Your Hardwood Floor

url-73The first step to refinishing your hardwood flooring is deciding whether your project needs a complete refinishing job.  If the floor is clearly damaged from flooding or stains, you may need to repair before refinishing. Remember that your floors need to be at least 3/4’’ thick. To avoid sanding down to the sub-floor, check with a professional if your floor is thinner than ¾.’’ Realize that if your floor is slightly thinner, it may not be able to be refinished. Pay close attention to the flooring beneath the hardwood. If there is a floor covering underneath, remove the old floor first.

Home improvement jobs take a lot of preparation, analyzing, and time before beginning the work. The floor must be cleaned and sanded properly in order to start the refinishing process. Make sure everything is cleared out of the room. Remove all furniture and closet items and cover all light fixtures. Next, remove shoe moulding by wedging a pry bar between the moulding and the wall. Place a block of wood behind a bar to prevent damage. Seal the door with masking tape in order to close off the room from the rest of your space. Lastly, vacuum the floor to remove dirt.

Now it’s time for sanding! A drum sander is the perfect tool to use. Most of the time these tools can be rented. A few tips for using this are:

  • Step 1
    • Begin sanding in the center of the room. Sand with the grain from one end of the room to the other, overlapping passes by an inch or two. Repeat the procedure on the other half of the room. Sand the entire center portion of the floor.
  • Step 2
    • After the main portion of the floor has been sanded with the drum sander, hand-sand or use an edge sander to sand areas where the drum sander did not reach. Use the same grit sandpaper you used with the drum sander. You may need to hand-sand or use a detail sander to reach the corners.
  • Step 3
    • When the entire floor is finished, vacuum and repeat the entire process using smaller grit (larger number) sandpaper with each pass.
  • Step 4
    • Finish by sanding the entire floor with 120 grit sandpaper.
  • Step 5
    • After the last sanding, vacuum once more and wipe with a dry cloth or tack cloth

Staining your floor

You can apply a clear sealer to your newly refinished floor or apply a stain, water- or oil-based. Some stains require more than one coat with a sanding between. Remember to keep the furniture out of the room until the floor is completely dry. After the floor is dry, reinstall the shoe moulding. To get the best finish, buff the floor after staining or sealing.

Many people are attracted to wood floors because of their elegant and quality appearance. They are a beautiful addition to a home and they are also an eco-friendly choice. Wood flooring is environmentally friendly.

Wood is a carbon neutral product and provides oxygen during its life cycle.

Indoor air quality is greatly improved when wood floors are present and installed correctly.

Production of wood flooring saves natural resources because they use less water and energy than other materials.

Another great benefit of wood flooring is that it can most definitely be recycled or burned as fuel. This is not the case for various other flooring options.

Aside from looking wonderful in a home, wood floors are truly the best option when deciding on an eco-friendly material. They last for decades and do not need to be replaced frequently, if ever! Who would have thought those beautiful wood floors you step on every day could be helping the environment? url-14

How to Create a Built-in-Bookshelf

As we all know, flooring has numerous factors that complement color, shade, the type of wood, and more. Design, care, and maintenance are just a few aspects that go hand-in-hand with the flooring that you choose. Decoration and color are key factors to a wonderful, breathtaking room.  Sometimes these additions can become expensive. Why not create a decoration yourselfurl-10? Many might be thinking– where is my talent and money that must go into this process? No need to worry. Following a few steps will help create a decoration or addition that you have always wanted. Today we are going to discuss a popular trend that is seen in many living rooms and bedrooms..Built-in bookshelves! In my opinion, I believe these are great for show, and for also saving space on a regular bookshelf. The trick is a 12-step process that will bring you from scattered supplies to a magnificent creation. After-all, if you can read, you can build!

One,  you need to measure and cut the shelving. Measure the shelves in relation to the space you will be inserting them.  Cut the pieces of shelving and using a circular saw, cut out the kick-plate area on the bottom of the unit.

Two, you must cut rabbet joints into the ends of the top shelf, cutting straight across the shelf into 1/8’’ increments

Three,  “Mark the location for the center shelf, and use the pegboard as a template for drilling holes for adjustable shelves. Clamp the pegboard in place so that the first holes will be 4″ above and 4″ below the center shelf. Draw reference lines across the holes in the pegboard to help you keep the holes even. Drill holes 2″ from the edge in 2″ increments.”

Four, attach 1’’x 2’’ support blocks for the center shelf with glue and finish nails. “Drill and countersink pilot holes for the top of the bookshelf. Attach it with glue and 2″ wood screws. Apply wood glue to the support blocks for the center shelf, and set the shelf in position. Drill and countersink pilot holes in the side of the bookshelf, and attach the shelf with 2″ wood screws (Image 2). Be sure to drill the holes in an area that will be covered when the bookshelf is recessed into the wall”.

Five, attach support blocks for the bottom shelf with glue and nails

Six, Fasten the back panel with 1’’ brads to help the shelf stay square

Seven, “Attach 1″ x 2″ trim pieces to the side and bottom edges of the bookshelf with sixpenny nails and glue”.

Eight, “Drill and countersink pilot holes for the kick plate so the screw heads will be just below the surface of the wood. Attach the kick plate, then cover the screw heads with wood filler or spackling compound.”

Nine, remove any base molding from where the shelf will be placed

Ten, drill pilot holes through the back corner and into the wall studs—be careful not to drill through the inside of the bookshelf.

Eleven, “Measure and cut the nailer board and trim for the top of the bookshelf. Attach the nailer to the top of the shelf with sixpenny finish nails. Use finish nails to attach the trim”.

And finally, replace the baseboard trim and touch up any areas that need adjustment.

See photos and tips for guidance on http://bit.ly/12CHela

Should I float, glue or nail down my new hardwood floor?

Ron Call’s humble beginning in the flooring industry started at age 18 as an apprentice in 1978.  Today Ron is a recognized leader amongst his peers and clients throughout the industry.  34 years later Ron is an expert in all floor covering products specializing in hardwood installation and refinishing and the owner of the very successful Harmony Flooring based out of San Diego serving the entire southern California region. Have questions?  Need Advise?  Visit the Ask Ron section of our blog or email him direct at askron@urbanfloor.com


This is a question that I have been asked many times over the years. There are several factors to consider and each home, customer and product is different and so there is no one size fits all perfect answer. Some of the considerations are.

  1. Appearance
  2. Cost
  3. Sub floor type
  4. Home type ie: single family home, condo or even mobile home
  5. Manufacturers recommendations
  6. Feel and sound

Appearance is considered because even though you are installing the same floor in the same areas, using different methods will mean slight differences in a the look, sound and feel of you floor as well as the cost involved in the installation.  With the floating method of installation you will need to install transition moldings (T-moldings) in all doorways or openings between adjacent areas where the opening is less than 4 feet wide.  These little speed bumps as some of my customers like to call them can be a real deal breaker for some customers. They like the look of a continuous wood floor as it flows from one room to the next just like they remembered the wooden floors from their childhood homes. Other people don’t care and are fine with T moldings in their doorways. The reason you need a T molding separating these areas is because with a floating floor the edges are glued or locked together. And when the floor expands and contracts with changes in temperature and humidity it moves as one large monolithic piece of wood floating over the top of the padding and vapor barrier (hence the term floating floor). So the changes in temperature and humidity say in the kitchen would directly affect the function of you floor across the width of the house say in the back bedrooms. With a glued down or nailed down hardwood floor each plank is fastened directly to the subfloor and not to the adjacent plank so when one plank expands it does not necessarily affect the others planks. So T moldings are not required.

Cost is considered because we all love to save money. And each method involves different supplies, materials and installation time. The least expensive method is the floating floor as you save between $1.50 and $2.50 per square foot when taking into consideration the cost of glue/sealer and additional labor cost to install a glued down floor. A nailed down floor falls somewhere in the middle but is limited by the type of subfloor (must be plywood) and manufacturers recommendations (some floors cannot be nailed down successfully).

Subfloor type is considered as certain subfloors will accommodate any installation method but with others you will be limited. If you have a concrete slab on grade you may float or glue your floor but you cannot nail it down unless you first install ¾ inch plywood first which is done occasionally but it will significantly increase the cost of your new floor installation because you would be essentially installing two floors. The new plywood subfloor and then the new hardwood floor. On a plywood subfloor you may float, glue or nail down your new wood floor. On light weight concrete or gypsum floors like you have in a condo or apartment, floating your floor may be your only option depending on the softness and porosity of the subfloor. Nail down floors on lightweight concrete is not an option. And installing plywood first may be impossible if it’s a soft type gypsum floor. I do not recommend the glue down method for these floors either as you can never be certain of the hardness and the porosity of the subfloor. And with the tremendous pressures that can be exerted between the hardwood floor the glue and the subfloor, this could be a recipe for failure. Always consult your local installation professional for guidance as to which methods will work in your home.

Home type is considered because if you live in a condo or apartment type building you may be subject to the dreaded CCR’s. Home owner’s association rules that you agreed to when you moved in your building. Often they will require that hard surface floors like hardwood if allowed at all will need appropriate sound proofing underlayment. Be sure to follow these rules to the letter as I have seen some associations make people’s lives pretty miserable if the rules are not followed. Often they will require only certain brands of products or one’s that meet strict soundproofing thresholds IIC ratings. Sometimes they require the building superintendant to photograph the various stages of the installation to ensure compliance. And often you must submit your proposal to the board for approval before starting any work. So do not make any purchases of materials until you’re approved in writing by your association. This will save you much time and aggravation. Mobile homes can be done as well but pay close attention to leveling issues. Carpet can cover a lot of expensive problems that you may not be aware of.

Manufactures recommendations must always be followed as your warrantee is a big part of purchasing your new floor. You do not want to have you’re warrantee voided due to improper installation. Your flooring dealer will help you with these issues.

Feel and sound is a consideration in that nailed and glued down installations tend to sound a little more solid, and will have very little movement when you walk across the floor. Where as a floating installation will sound a little more hollow and the floor will have a little more movement because it is installed over a pad. If you tend be on your feet for long periods of time say in your kitchen, this may be a good thing as it will feel a little softer underfoot.

There is a lot to consider when deciding which method is best for you and your home. It all may seem a little daunting especially when it took you this long just to pick the right style and color for your home. Your local Urbanfloor dealer and installation professional will help you through the process. If I can help you in any way you can contact me here at the website “Ask Ron


Ron Call

Your UrbanFloor Guy.

Cleaning and Care

Cleaning and caring for your wood flooring is simple.  But there are a few guidelines you should be aware of to keep your investment in tip-top shape.  If you ever have any questions regarding our products, maintenance, installation, cleaning and care DO reach out and ask us. We’re happy to help.

Visit Us: www.urbanfloor.com

Call Us Toll Free: (866) 75-URBAN (87226)

  • DO consult with an installer, the finisher or the manufacturer if there is any doubt of the kind of floor finish.
  • DO place mats and throw rugs at doorways, exteriors and interiors to help prevent the tracking of grit, dirt and sand.
  • DO put plastic or fabric-faced glides under the legs of furniture to prevent scuffing and scratching.
  • DO trim and file your pets claws regularly to help prevent small scratches.
  • DO place an area rug in front of the kitchen sink to catch water.
  • DO sweep, vacuum or dust mop.
  • DO clean spills with cloth, paper towel or napkins.
  • DO close curtains and blinds during the day when possible as direct sun exposure for an extended period of time can dry and/or fade natural wood.
  • DO maintain with a leading brand of prefinished hardwood floor cleaner.*
  • DON’T move heavy furniture without protecting wood flooring by slipping a piece of cloth or pile under the legs or covering each leg.
  • DON’T ever wet-mop a wood floor; standing water can dull the finish, damage the wood and leave a discoloring residue.
  • DON’T  wear cleats, sports shoes and high heels on your wood floors as they can dent any floor surface.
  • DON’T allow abrasives such as sand and glass to sit on your floor as they can damage your floors finish.  Sweep or vacuum regularly.
  • DON’T use oil base soaps.

PROTECT YOUR FLOOR INVESTMENT

Hardwood floors are a lifetime investment and you have spent a considerable amount of money to add value to your home. The first thing you should understand about caring for your new floor is that you are not actually cleaning the wood. You are actually cleaning the polyurethane. The wood is beneath a protective layer of polyurethane. It is important to keep this protective coating in good condition to protect the wood. Routine maintenance should include protecting the surface finish from moisture and heavy wear, which creates scratches.

*Urbanfloor recommends Bona® cleaning products. Bona (also known as BonaKemi®) is widely regarded as the best cleaning solution available.

DISCLAIMER

Urbanfloor is not related or affiliated with BonaKemi USA, Inc., and does not gain any monetary benefit by referring Bona® products. Recommendations are voluntary and solely based on our own experience. Bona® and BonaKemi USA, Inc. are registered trademarks of their respective owners.